Learn how to make your own vegan yogurt! Making your own yogurt is cheap, easy, requires no prep work, and the result is creamier and healthier than you could ever imagine.
If you feel a bit intimidated at the thought of starting to make your own yogurt, let me put your mind at ease – anyone can do it. All you need is a plant-based milk, yogurt cultures and a warm place to let the bacteria do their magic. Follow these steps and you will never have to resort to store-bought yogurt again.
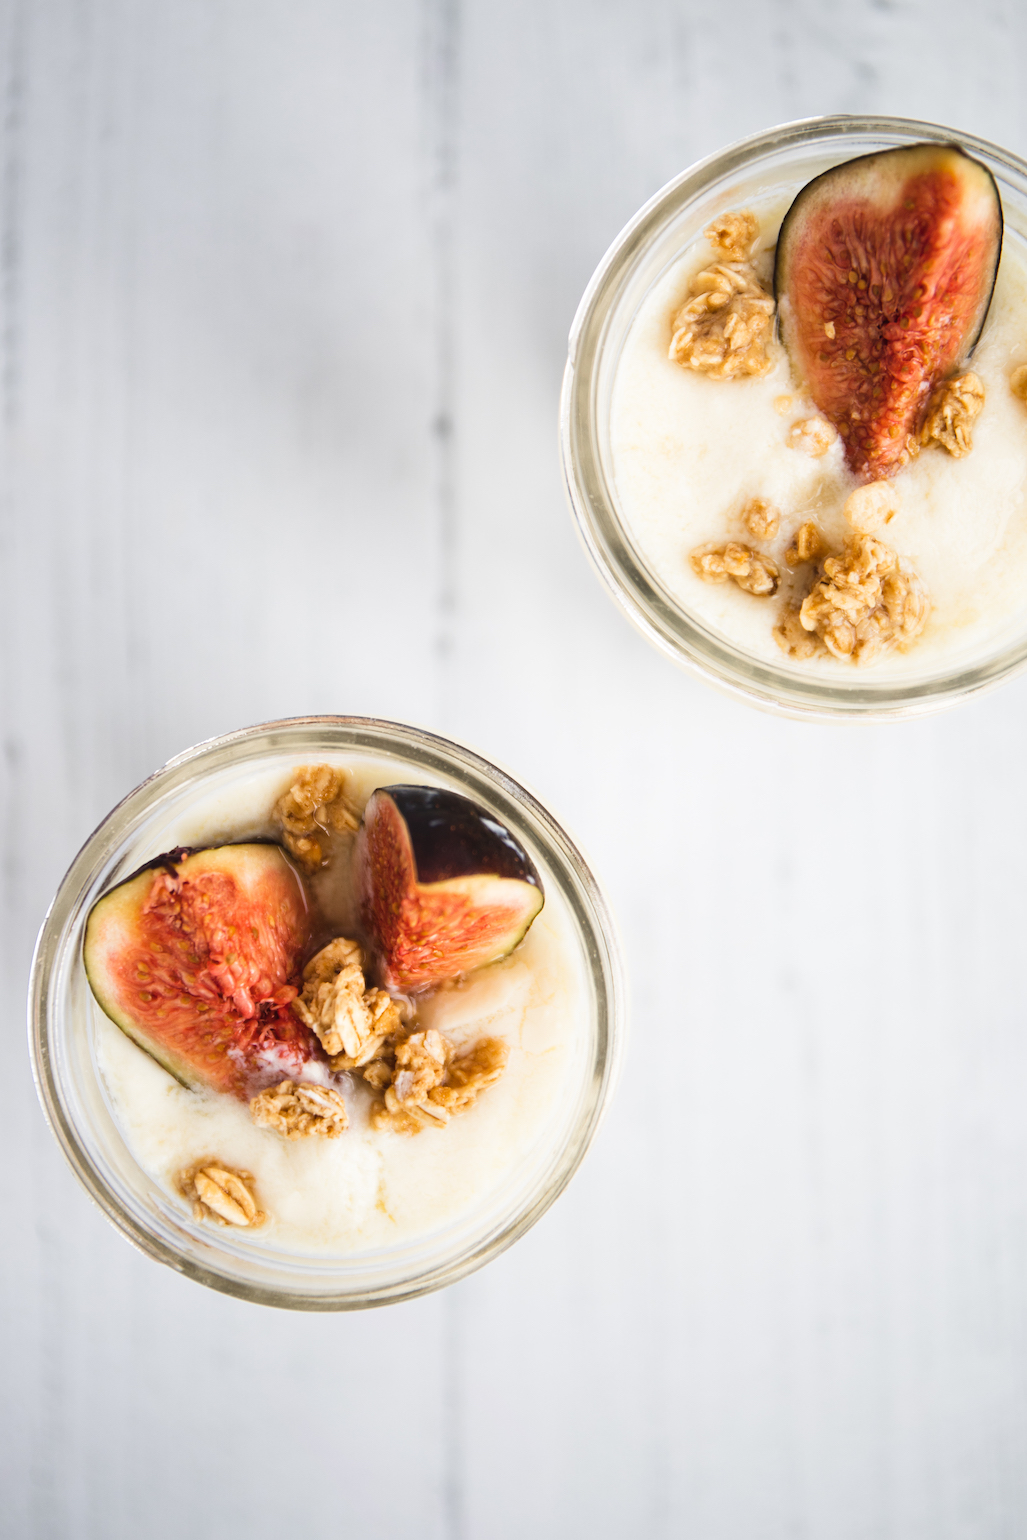
Why Make My Own Vegan Yogurt (When I Can Just Go to the Store)?
I know what you mean. But once you start making your own yogurt, and see how quick and easy it actually is, I can guarantee you will never want to go back. Homemade yogurt:
- Tastes so much better than the store-bought stuff
- Is a lot cheaper (perfect if you like to use it in the kitchen)
- Has a much higher probiotic content
- Is all-round healthier, because you get to control exactly what you put in it
Do I Need a Yogurt Maker?
No, but it does make the process so much easier. Essentially, all you need to make yogurt is to leave the milk with the added bacteria in a warm environment for 8 to 12 hours. If you live in a warm climate, this could mean simply covering the bowl with foil or a cloth and leaving it on the counter.
Or, and this is a method I used for a long time before I finally got a yogurt maker, put the yogurt in a warm oven (105°F/40°C), turn the oven off and let it sit there.
A yogurt maker does exactly that – it’s essentially a warm bowl that keeps the yogurt at a certain temperature for as long as you want it. But here’s why I love it:
- It’s really inexpensive
- Much more energy efficient than an oven
- Easy to use, requires no manual reheating or keeping an eye on it
- Makes a huge batch in a container that is easy to store in the fridge
- Comes with a cheesecloth attachment that makes the creamiest Greek yogurt
I really love this one because it allows me to create a huge batch of yogurt at once, which can come in handy if you’re using it for baking and cooking.
How Long Does Homemade Vegan Yogurt Keep?
The yogurt will stay fresh in the fridge for up to 2 weeks.
Can I Use Any Plant-Based Milk?
The packet says you can use any sweetened plant-based milk. I tried it with unsweetened, low-fat almond milk and it didn’t work. What it did work with is:
- Full-fat soy milk
- Full-fat coconut milk
If you’re using unsweetened milk, I recommend adding a teaspoon of sugar to the mix. Sugar is needed for the bacteria to have something to munch on, producing acid and thickening the milk.
This isn’t necessary when you’re making yogurt from dairy milk, because there is already enough sugar in lactose itself. However, when you’re using a plant-based alternative, a teaspoon of sugar will do the trick.
What Is a Vegan Starter?
A starter culture can be either a yogurt with live cultures, or bacteria sold specifically for making homemade yogurt, like this Yogostarter Non-Dairy Starter (which is what I use) or Jarrow Formulas Jarro-Dophilus, Allergen-Free Probiotic Capsules.
If you’re using yogurt with live cultures, make sure that the label on the container confirms that it has l. bulgaricus and s. thermophilus in it. To make 100% vegan yogurt, make sure the starter specifically states that it’s dairy-free or vegan.
How to Make Vegan Yogurt at Home
Here’s what you’ll need to make yogurt at home:
- Milk of choice (soy and coconut are guaranteed to work)
- Starter cultures (bacteria that turn milk into yogurt)
- Warm environment, or a yogurt maker
- Instant-read kitchen thermometer, optional but highly recommended. I recommend this one
- Cheesecloth, only if you’re making Greek yogurt
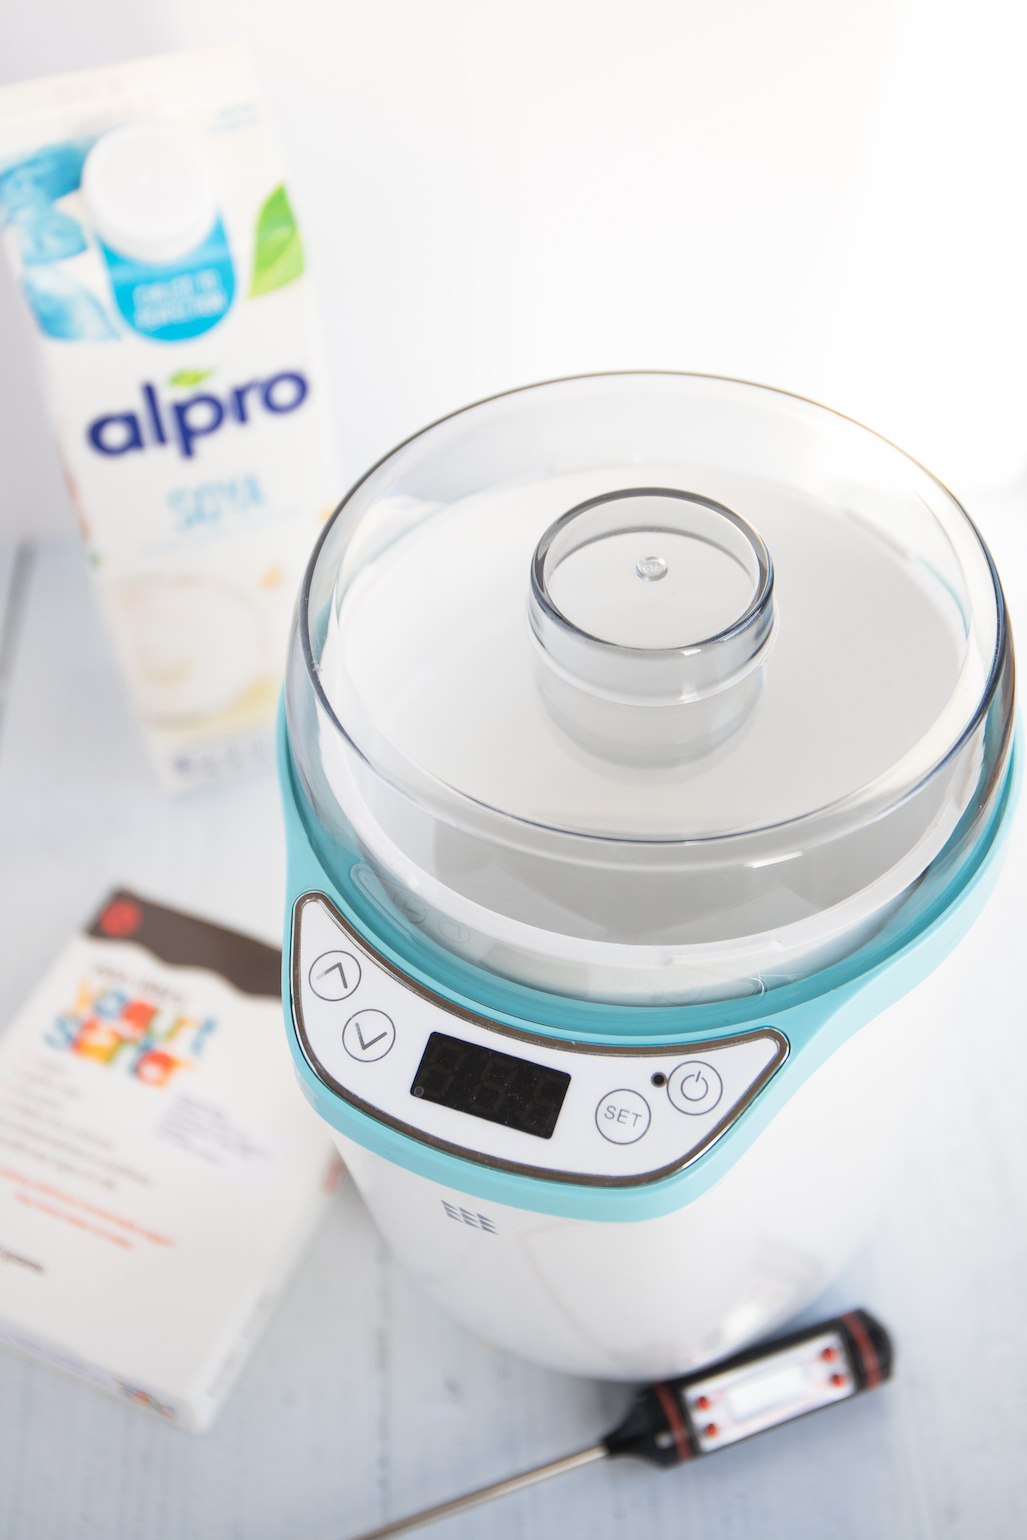
Step One
Heat up the milk, stirring constantly, until it reaches about 180°F (82°C). It shouldn’t boil.
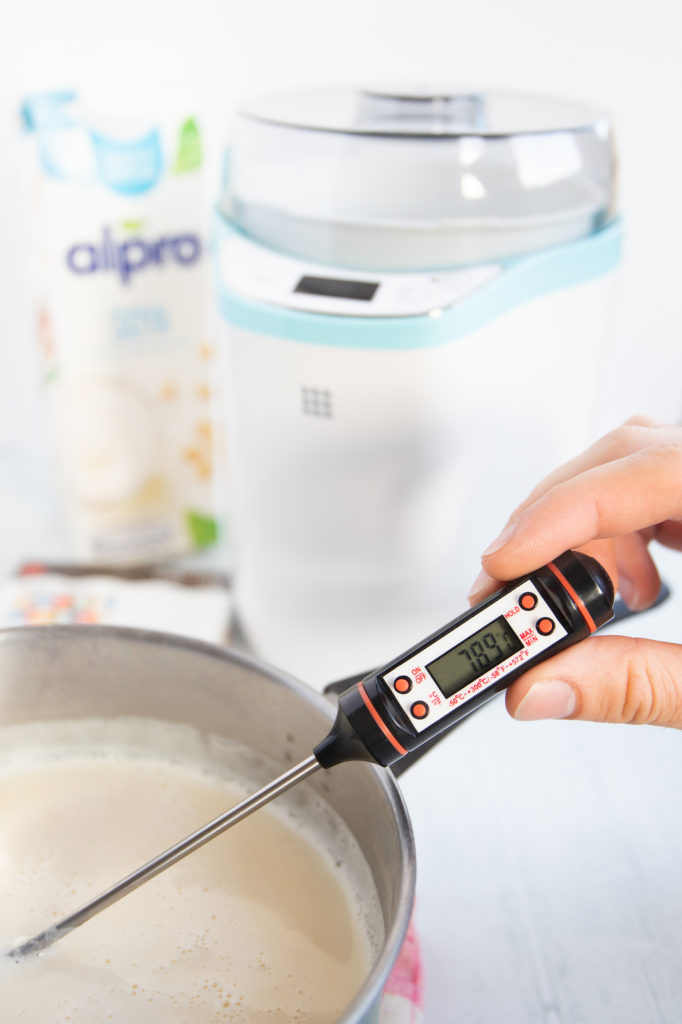
Step Two
Let the milk cool down to at least 105°F (41°C). This is extremely important. Do not mix the live cultures in hot milk. The yogurt WILL NOT SET!
Step Three
Mix a bit of lukewarm milk with the entire sachet of starter. Then add this mix slowly to the milk, stirring constantly. If you’re using a probiotic yogurt as a starter, simply mix the yogurt into the milk.
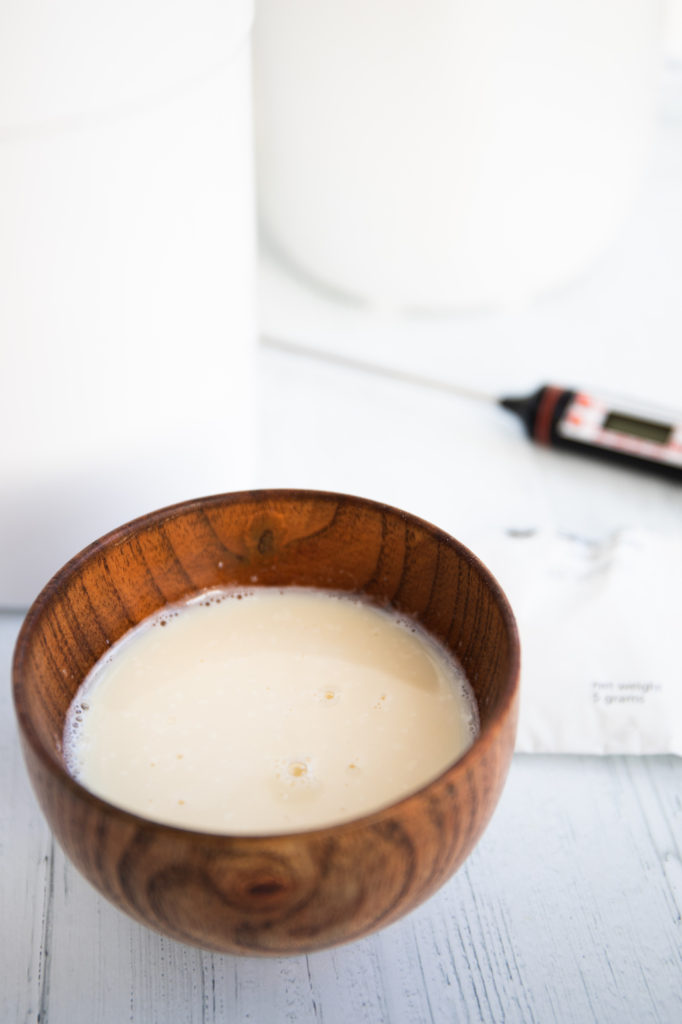
Step Four
Let it sit in a warm place for 10 to 12 hours. Let it cool to room temperature, then store it in the fridge.
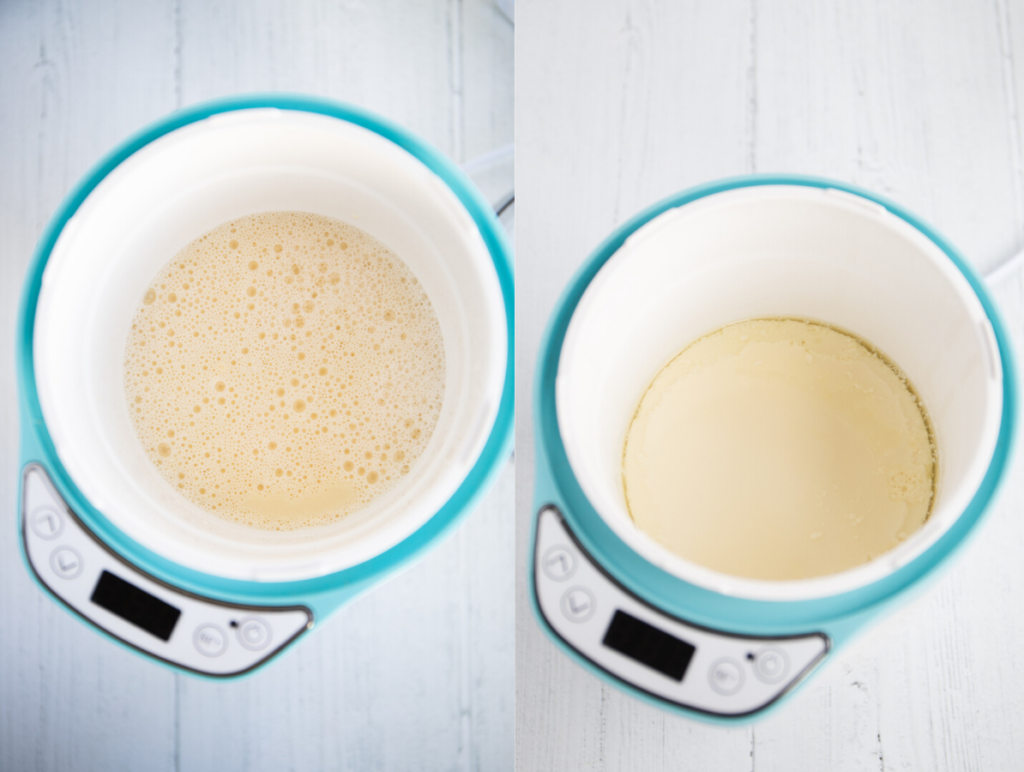
Important Tips to Make Sure Your Yogurt Thickens
- Use full-fat, sweetened plant-based milk, ideally soy or coconut.
- Accurately control the fermentation temperature – cooling down the milk to at least 105°F (41°C) before adding the cultures. If the milk is too warm, it will kill the good bacteria. If you don’t have a thermometer, you can test the milk with your finger – the milk should be slightly warmer than your body temperature. If you’re in doubt, it’s better to leave it cool down for longer.
- Leave the yogurt fermenting longer than typical lactose-based yogurt, for at least 12 hours. Then let it cool to warm temperature before you put it in the fridge.
What Kind of Yogurt Can I Expect?
If you decide not to make Greek yogurt, the yogurt will be a bit more runny than the store-bought stuff, with a bit of extra liquid. The flavour is very mild, almost sweet.
How to Make Greek Yogurt
To make that thick, creamy, rich yogurt we all love and want, you will want to strain the yogurt. This is a lot easier than it sounds.
- Line a colander with some cheesecloth.
- Pour the yogurt into the cheesecloth.
- Depending on how thick you want the yogurt, let it drain for at least 4 hours. If leaving it to strain for several hours, you can put it in the fridge if you prefer and let it strain there.
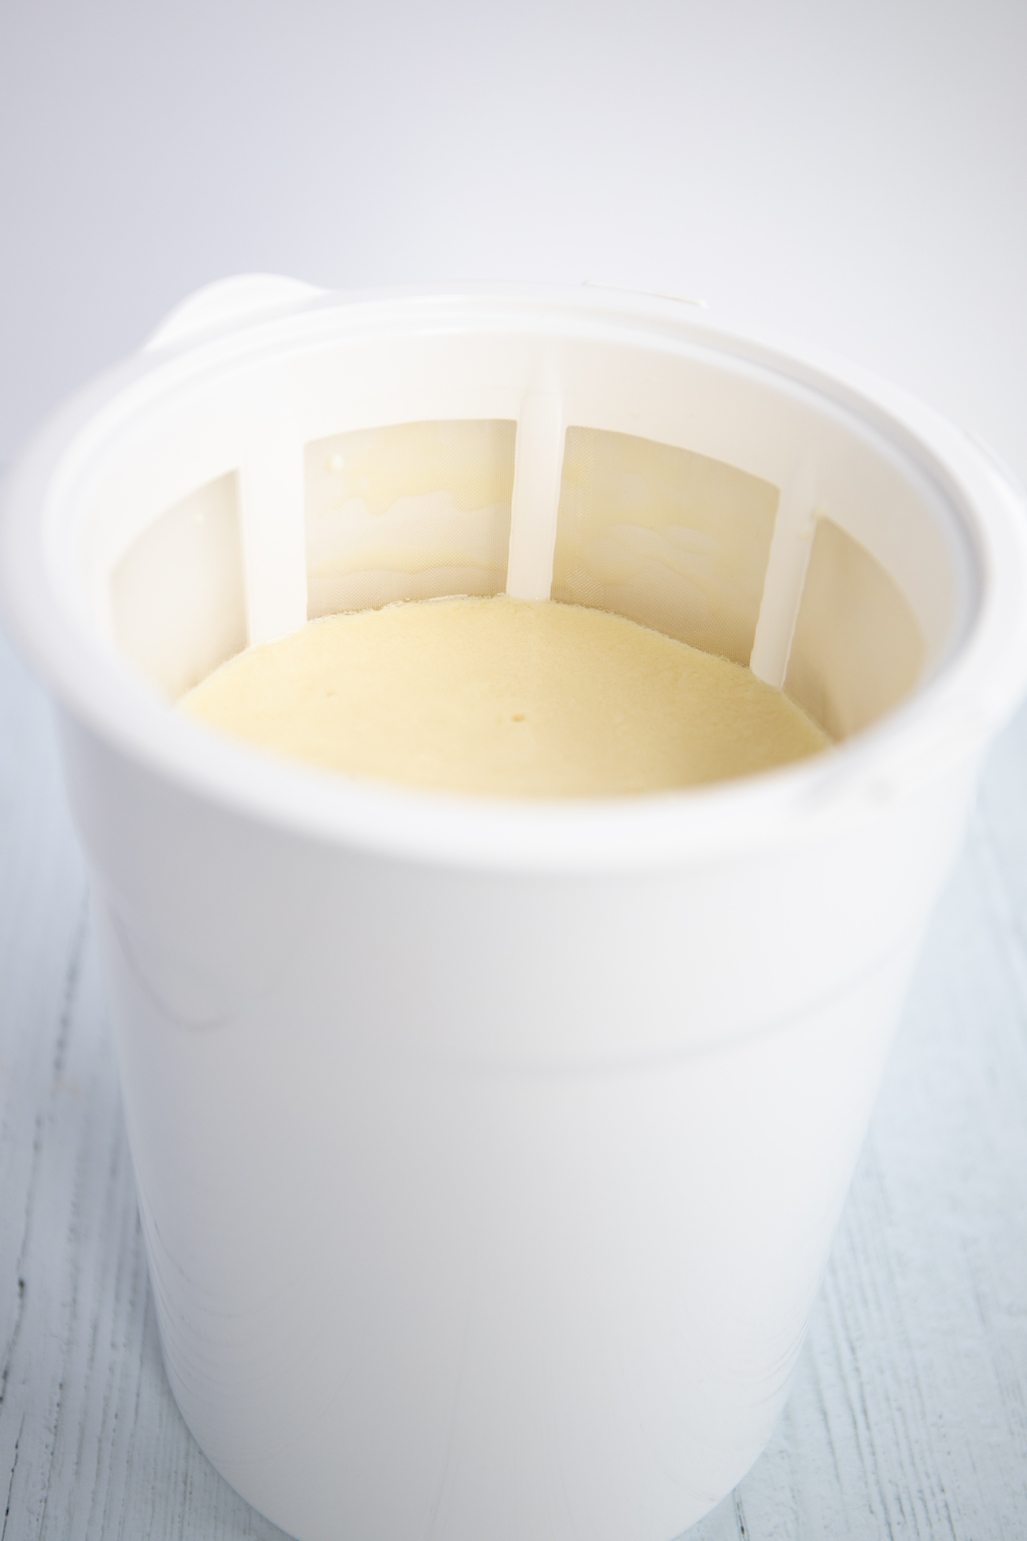
What Is the Leftover Yellowish Liquid?
Whey is the by-product of making yogurt, and it’s essentially milk minus the fats and solids. When you’re making plant-based yogurt, the leftover stuff is also a type of ‘whey’ which is just a nutritious as the lactose stuff.
This liquid is a great source of protein, so make sure you don’t toss it out. Here are just a few uses for it:
- Use it in place of water when you’re making broth or soup.
- Add it to your smoothies and shakes.
- Use it as cooking liquid for potatoes, rice pasta and grains.
- Put it in your compost pile. It adds nutrients and makes thick, black compost.
Does whey freeze?
Yes, you can free it it for up to 6 months.
Recipes with Vegan Yogurt
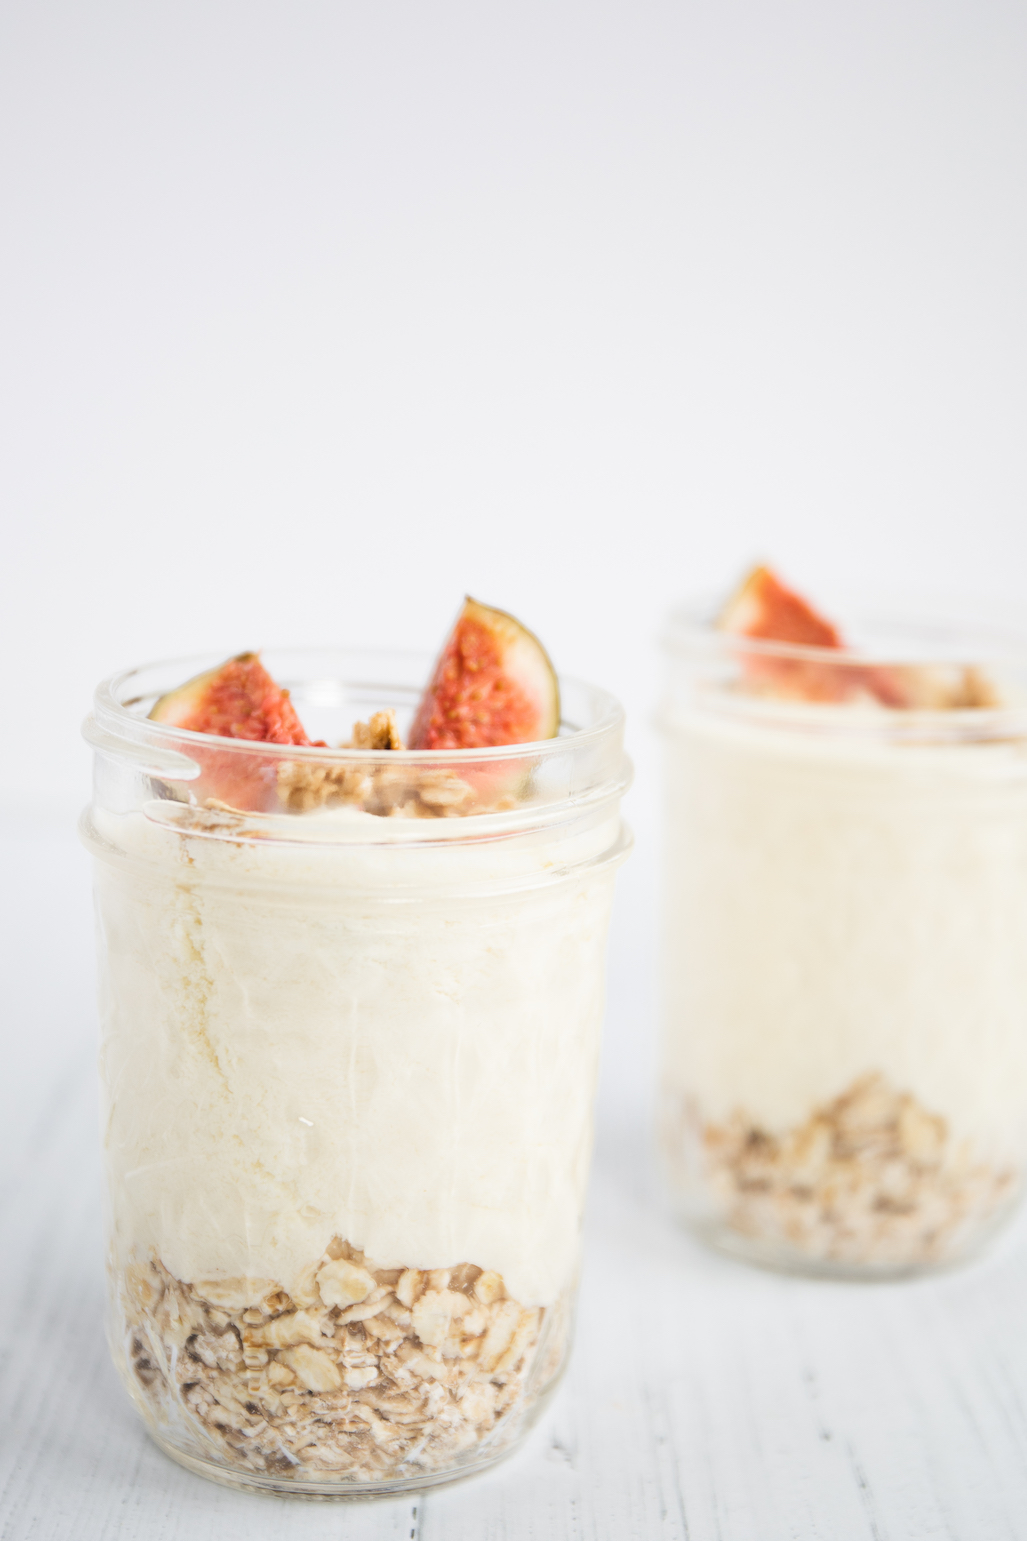
There are plenty of recipes that call for yogurt, from smoothies to overnight oats and desserts. Learning how to make large batches of your own yogurt can be very cost efficient. Plus, it’s healthier than most store-bought alternatives.
Yogurt Smoothies
- Strawberry Breakfast Protein Smoothie
- Blueberry Yogurt Smoothie
- Strawberry Yogurt Smoothie
- Vegan Mango Lassi
- Strawberry Banana Peach Smoothie
Yogurt Overnight Oats
More Recipes with Vegan Yogurt
- Vegan Autumn Cheesecake
- Chocolate Oatmeal Cookies
- Falafel Wraps with Tzatziki Sauce
- Baked Vegan Cheesecake
Is Vegan Yogurt Probiotic?
Yes, vegan yogurt can contain live cultures, which makes it probiotic. In fact, one of the greatest upsides of making your own yogurt is that it will have a much higher probiotic content than store-bought yogurt. You can learn more about why vegan yogurt can be probiotic here.

Homemade Vegan Yogurt
Equipment
- Kitchen Thermometer
Ingredients
- 4 cups (950ml) soy milk
- 1 sachet yogurt starter
Instructions
- Heat the milk. Pour the milk into a large pan and place over medium to medium-high heat. Warm the milk to right below boiling, about 180°F. Stir the milk gently as it heats to make sure the bottom doesn’t scorch and the milk doesn’t boil over. This heating step is necessary to change the protein structure in the milk so it sets as a solid instead of separating.
- Cool the milk. Let the milk cool until it is just warm to the touch, at least to 105°F. Stir occasionally to prevent a skin from forming.
- Thin the yogurt with milk. Scoop out about half a cup of warm milk into a bowl. Add the yogurt starter and whisk until perfectly smooth.
- Whisk the thinned starter into the milk. While whisking gently, pour the thinned starter into the warm milk. This inoculates the milk with the yogurt culture.
- Transfer the pot to the:a) turned-off oven. Cover the pot and place it in a turned-off oven — turn on the oven light or wrap the pot in towels to keep the milk warm as it sets (ideally around 110°F, though some variance is fine).b) yogurt maker. Pour the milk into the bowl of the yogurt maker, set the temperature to 105F and let it set.
- Wait for the yogurt to set. Let the yogurt set for at least 10 hours and up to 14. The longer yogurt sits, the thicker and more tart it becomes. If this is your first time making yogurt, start checking it after 8 hours and stop when it reaches a flavour and consistency you like. Avoid jostling or stirring the yogurt until it has fully set.
- Cool the yogurt. Once the yogurt has set to your liking, remove it from the oven/turn off the yogurt maker. If you see any watery whey on the surface of the yogurt, you can either drain this off or whisk it back into the yogurt before transferring to containers. Whisking also gives the yogurt a more consistent creamy texture. Transfer the yogurt to storage containers, cover, and refrigerate. Homemade yogurt will keep for up to 2 weeks in the refrigerator.


Leave a Reply