Did you know that most cherry pie fillings are naturally vegan and gluten free? Yes, in the end it all comes down to the kind of crust you’re using. This vegan cherry pie filling calls for only four easy-to-find ingredients and requires no special skills or prior baking experience. If you go with a vegan pie crust, this pie is also 100% vegan.
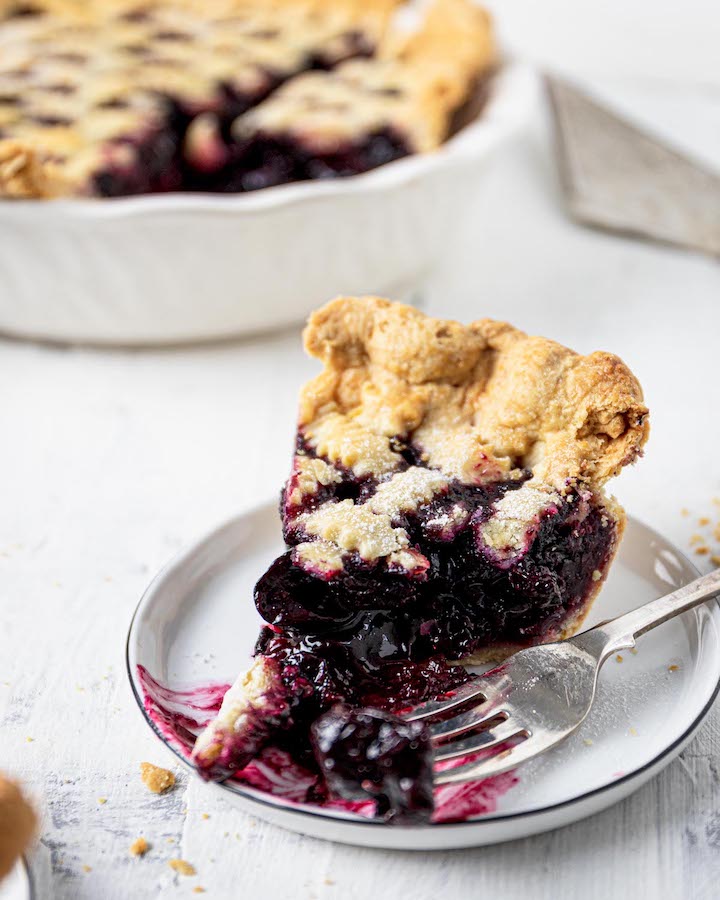
Ingredients You’ll Need to Make This Cherry Pie
Flour – all-purpose flour is all you’ll need to make homemade pie crust from scratch.
Vegan butter or vegetable shortening – both work really well if you want to make your own vegan pie crust.
Cherries – you can use fresh or frozen cherries, which are great if you’re making the pie when cherries are not in season. If you opt for frozen cherries, make sure to defrost them and drain all excess liquid.
Sugar – to sweeten the filling. Regular, granulated sugar is all you’ll need.
Cornstarch – helps to thicken the filling.
Vanilla and almond extract – for added aroma.
How to Make the Best Vegan Cherry Pie
Step One – Prepare the Filling
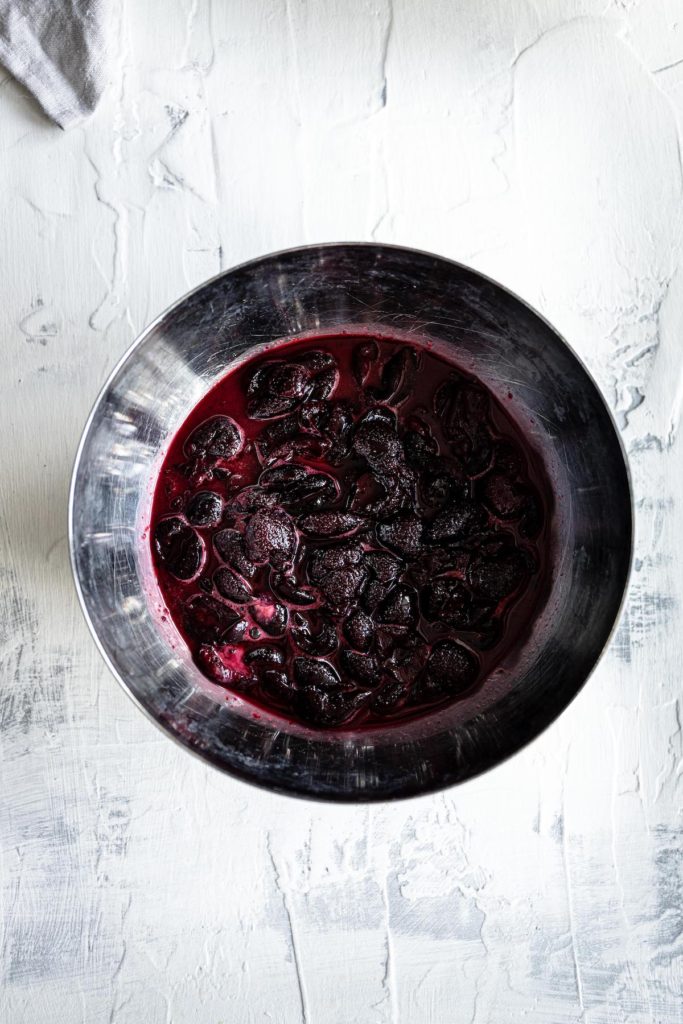
This recipe calls for making your cherry pie filling from scratch. This may sound a bit daunting at first, but it’s actually so much easier than you’d think. It involves nothing more than throwing together a handful of ingredients and pouring them into a pie crust.
The basics include mixing halved cherries and water, adding cornstarch for thickening, sugar for sweetness and a teaspoon of vanilla extract for that extra sweet note. That’s it!
Which Cherries to Use
You can use your favourite cherry variety, or a mix of several. I chose dark sweet cherries in this case, but feel free to experiment by mixing them with rainier cherries or even a handful of sour cherries.
Fresh or Frozen Cherries?
You can use either fresh or frozen cherries. If you’re making this pie for Thanksgiving or Christmas, frozen cherries are probably your best option. Make sure to defrost them and drain all excess liquid.
Pitting Cherries
You need to pit the cherries and the easiest way to do this is with a cherry pitter. You can also do it by hand, but get ready for a lot of wasted time and stained fingernails.
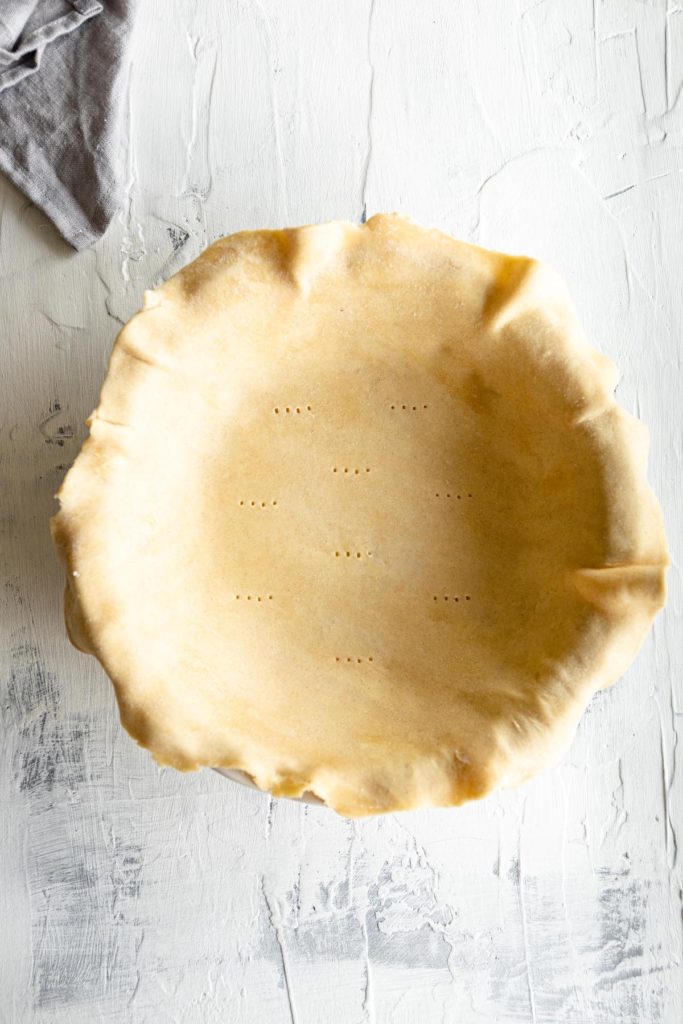
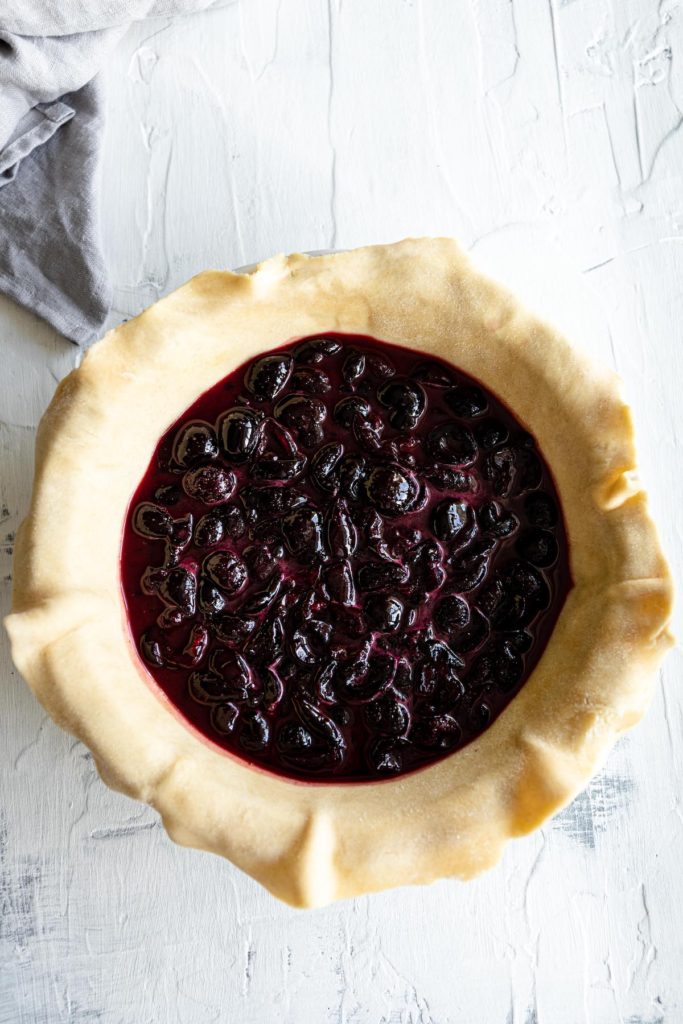
Step Two – Make the Perfect Vegan Pie Crust
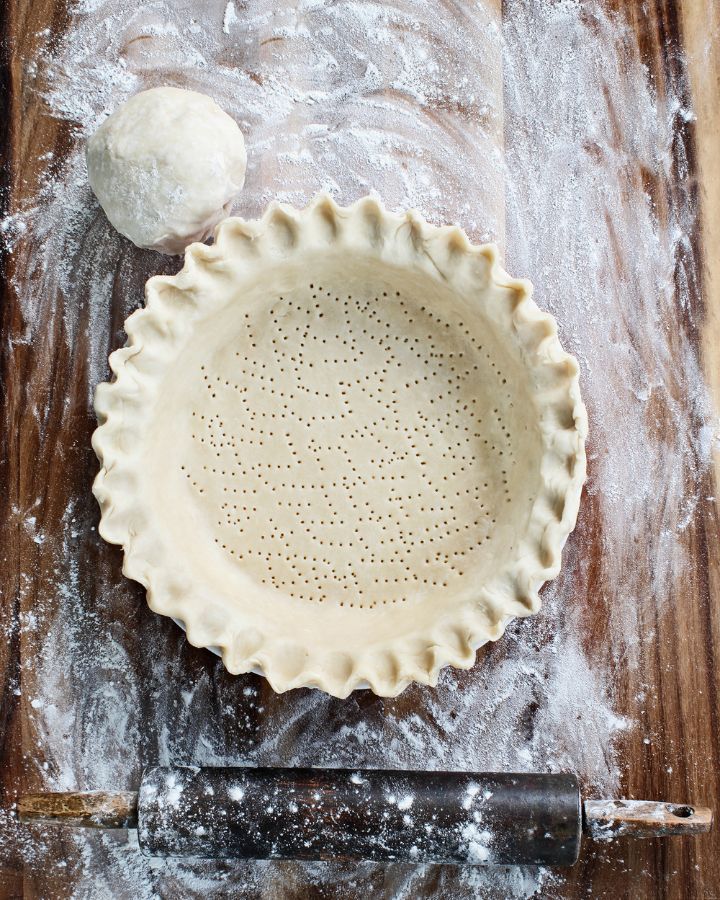
To be perfectly honest, baking the perfect pie crust is no easy feat, so if this is your first time baking a pie from scratch and you just want to enjoy a slice of warm, homemade pie without having to wreck your head with things like kneading, chilling and rolling the dough, there’s no shame in going with store-bought crust.
But if you want the satisfaction of knowing (and saying) that you baked a cherry pie from scratch, I’ve prepared this vegan pie crust baking tutorial to guide you through the process of making your very first pie crust.
How to Weave a Lattice Pie Crust Design
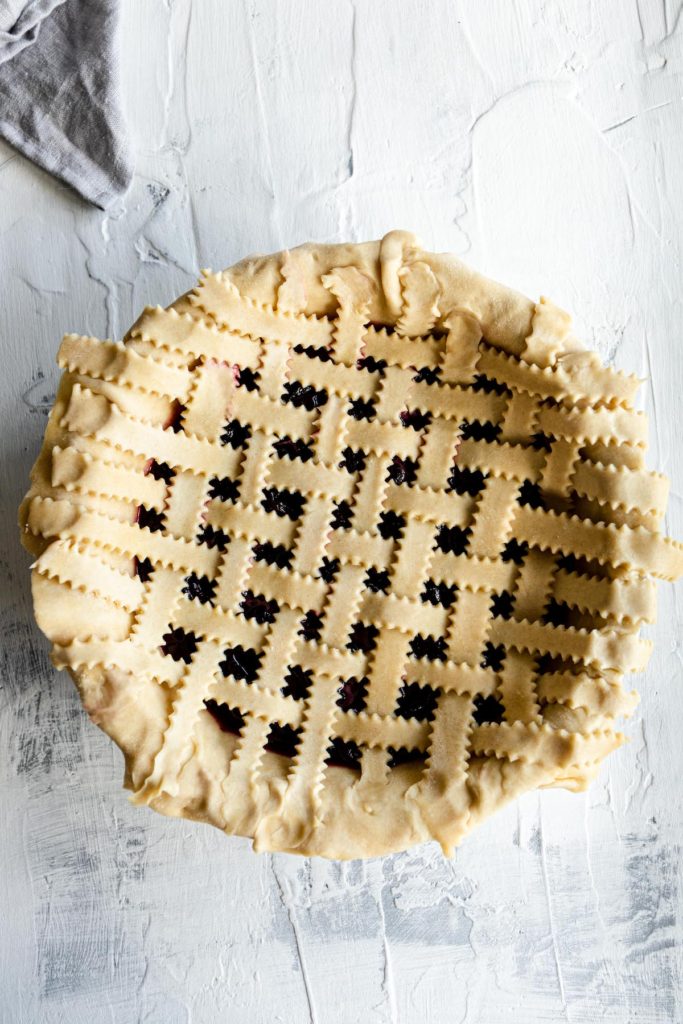
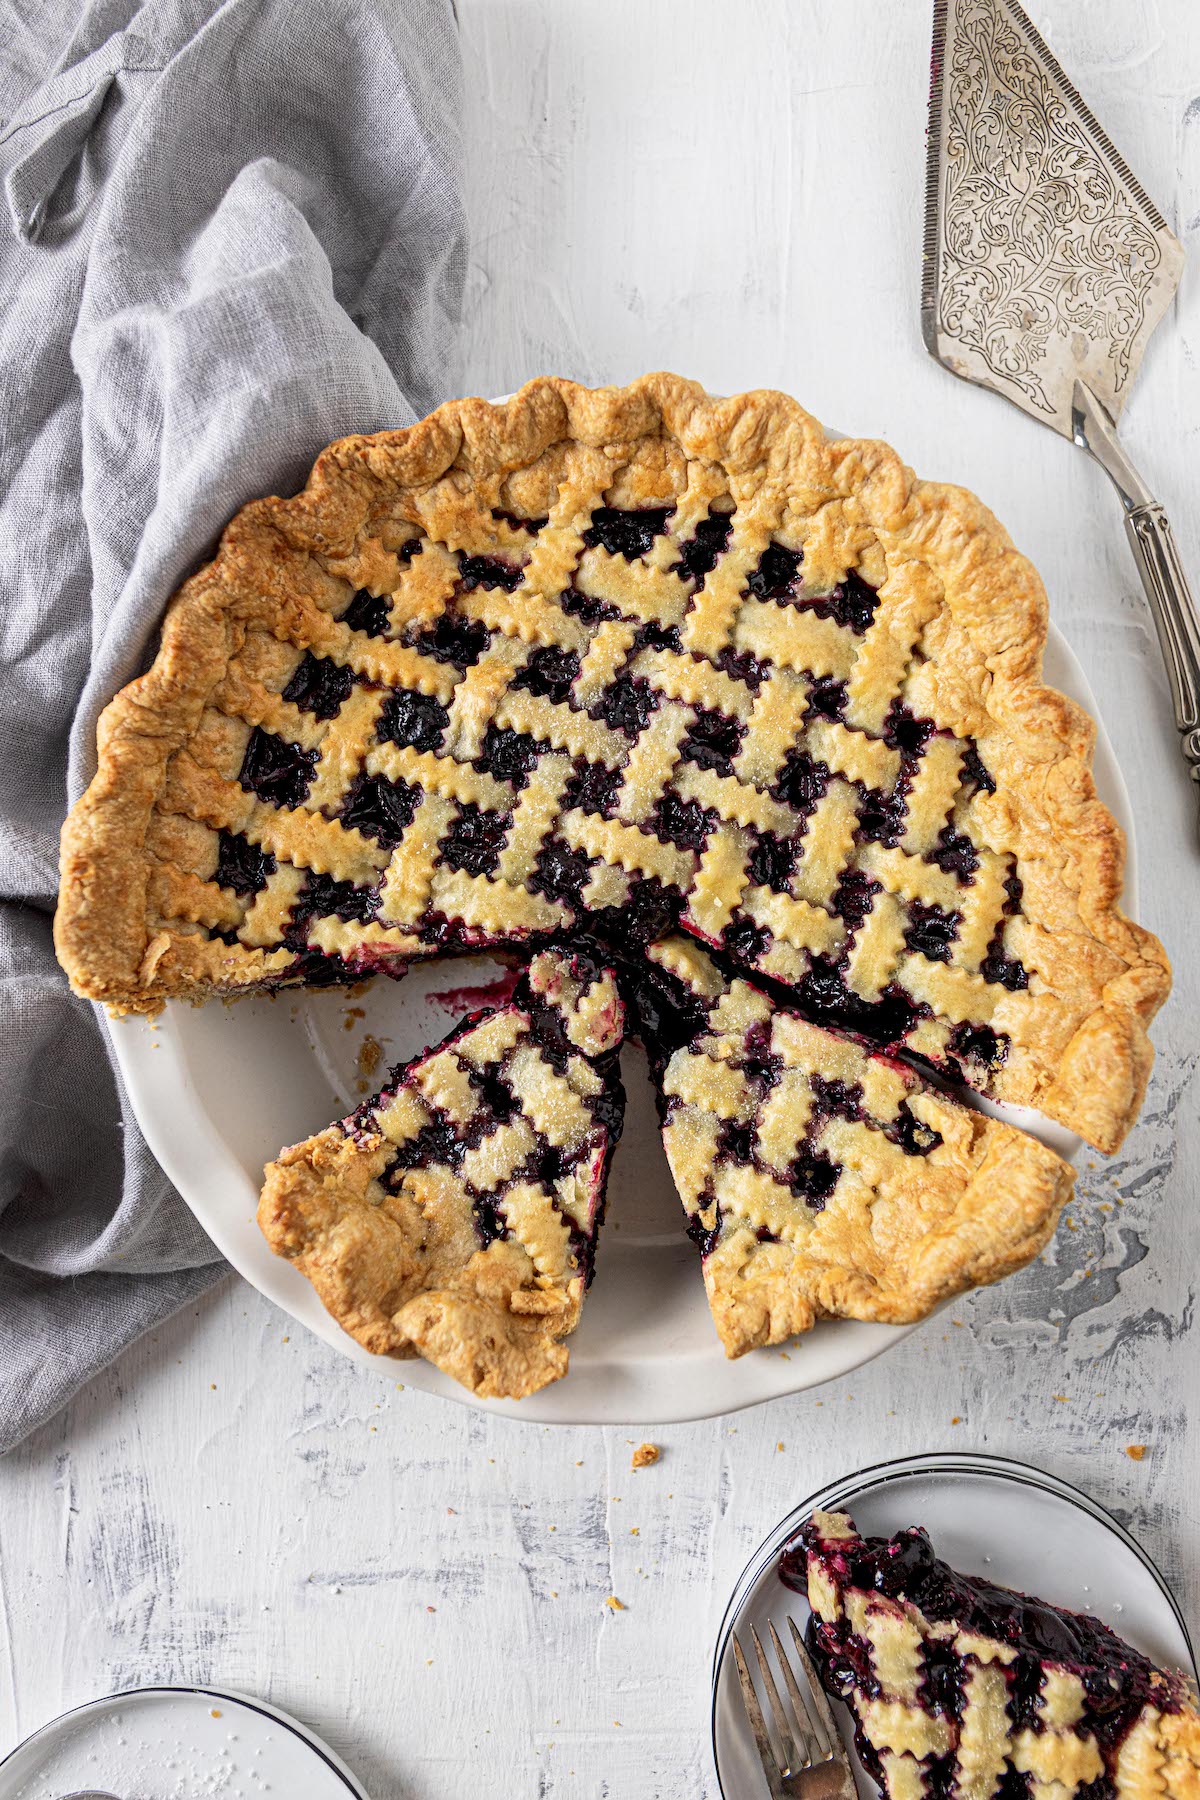
For stylistic purposes only, I made this cherry pie with a lattice top. And if you’ve never made a lattice pie crust, I know it can look a bit daunting. But I promise you, it’s so much easier (and more fun) than it looks. Here’s how you do it:
- Roll out the crust into about a 12-inch circle, and then use a pizza cutter to make about ½-inch wide strips.
- Lay about the pieces of strips down one way, then start in the middle going the other direction, and alternate every other strip between pulling back and overlapping them.
Step Three – Add Some Toppings
Almond milk – brush the top of the pie with almond milk. This gives the crust that nice golden glow. You can add a teaspoon of agave or maple syrup to the milk, but it will work without as well.
Coarse sugar or flaked almonds – you can skip the sugar and flaked almonds, but I love the extra crunch they bring to the table.
Vegan Cherry Pie FAQs
How long does cherry pie last?
To maximise the shelf life of cherry pie, cover it loosely with foil or plastic wrap. Properly stored, cherry pie will last:
- At room temperature – up to 2 days
- In the fridge – 4 to 5 days
- In the freezer – 6 to 8 months
Does it freeze?
Yes, to freeze: wrap cherry pie tightly with aluminium foil or plastic freezer wrap, or place in heavy-duty freezer bag.
What’s the best way to enjoy cherry pie?
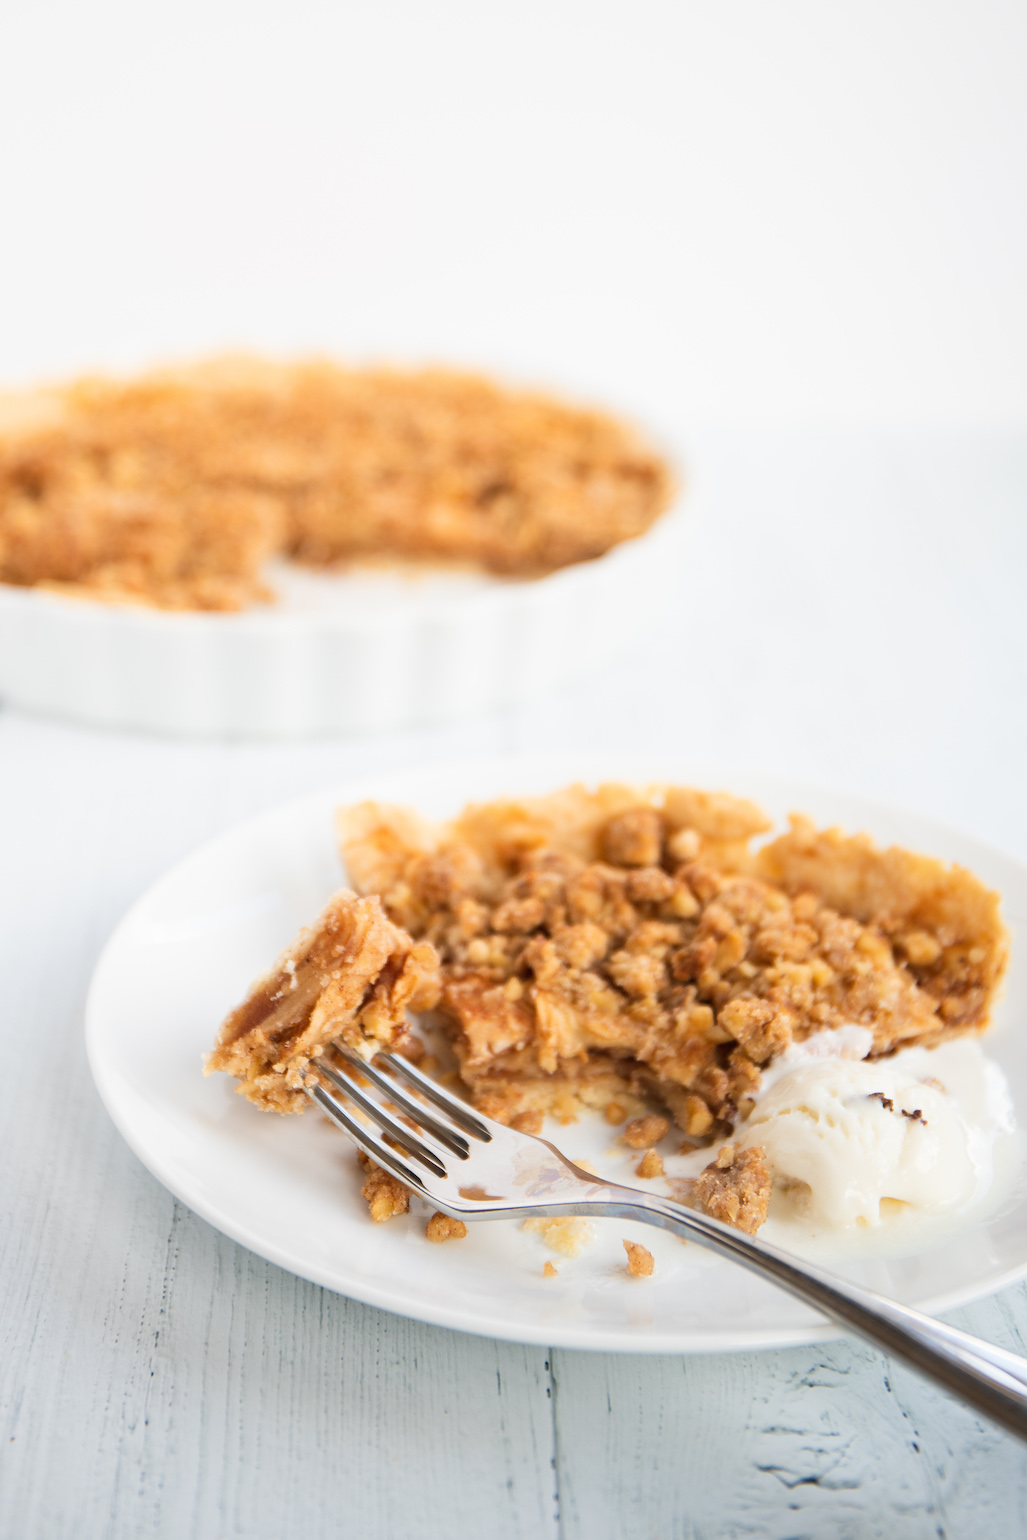
You can serve cherry pie warm, at room temperature, or even cold, with or without a scoop of vanilla ice cream.
Looking for More Vegan Pie Recipes?
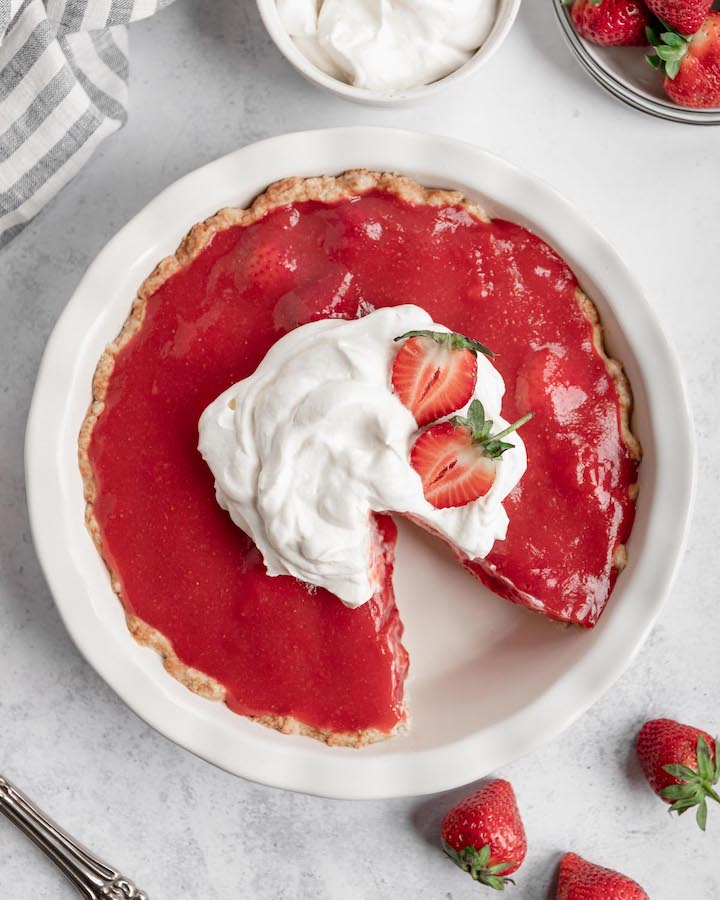
If you’re a pie fan, but would prefer a different filling, give these a try:
Click here for a complete listing of vegan pie recipes.
Vegan Cherry Pie
Ingredients
For the Crust
- 2 ½ cups (313g) all-purpose flour
- 1 teaspoon salt
- 1 cup (215g) vegan butter or vegetable shortening
- ⅓ – ½ cup (80 – 120ml) ice water
For the Filling
- 2 pounds (900g) fresh or frozen* cherries, pitted and halved
- 1 cup (210g) granulated sugar
- ½ cup (60g) cornstarch
- 2 teaspoons vanilla extract
- ½ teaspoon almond extract
- Almond milk, for brushing on top
- Coarse sugar or flaked almonds (optional)
Instructions
- Mix the flour and salt together in a large bowl. Add the vegan butter.
- Using a pastry cutter or two forks, cut the butter into the mixture until it resembles coarse meal.
- Drizzle the cold water into the crust, 1 tablespoon at a time, and stir with a rubber spatula or wooden spoon after every tablespoon added. Stop adding water when the dough begins to form large clumps.
- Transfer the pie dough to a floured work surface.
- Using floured hands, fold the dough into itself until the flour is fully incorporated into the fats. Form it into a ball. Cut the dough in half. Flatten each half into 1-inch thick discs using your hands.
- Wrap each tightly in plastic wrap. Refrigerate for at least 2 hours and up to 5 days.
- In a large bowl, stir the cherries, sugar, cornstarch, vanilla and almond extract together until thoroughly combined.
- Cover the filling and place in the refrigerator as you roll out the pie dough or for up to 24 hours.
- Roll out the chilled pie dough: On a floured work surface, roll out one of the discs of chilled dough (keep the other one in the refrigerator). Turn the dough about a quarter turn after every few rolls until you have a circle 12 inches in diameter. Carefully place the dough into a 9×2 inch pie dish. Tuck it in with your fingers, making sure it is smooth. Spoon the filling into the crust and discard any leftover juices in the bottom of the bowl. Dot the pieces of butter on top of the filling.
- Use a slotted spoon to spoon and spread the cherries into the crust. Reserve the juice for the next step. Refrigerate the pie, uncovered, as you reduce the juices in the next step.
- Pour the leftover juice into a small saucepan over low heat. Cook and stir for 3-4 minutes or until juice has slightly reduced and thickened. Cool for 5 minutes, then pour over cherries in the filling. Do your best to gently toss together.
- Preheat the oven to 200°C (400°F).
- Arrange the lattice: Remove the other disc of chilled pie dough from the refrigerator. Roll the dough into a circle that is 12 inches diameter. Using a pastry wheel, sharp knife, or pizza cutter, cut strips of dough– I cut four strips 2 inches wide and two strips 1 inch wide. Carefully thread the strips over and under one another, pulling back strips as necessary to weave. (See video above!) Press the edges of the strips into the bottom pie crust edges to seal. Use a small paring knife to trim off excess dough. Flute or crimp the edges with a fork, if desired.
- Lightly brush the top of the pie crust with almond milk. Sprinkle the top with coarse sugar or flaked almonds, if using.
- Bake for 15 minutes, then reduce the heat to 180°C (360°F) and bake for another 40 minutes, until the crust is golden brown. Allow the pie to cool for at least 4 hours before cutting, so that the filling is firm.
- Cover leftovers tightly and store in the refrigerator for up to 5 days.
Notes
- Storing Instructions: store in an airtight container at room temperature for up to 2 days or in the refrigerator for 4 to 5 days.
- Freezing Instructions: when properly stored in an airtight container, peach pie will maintain best quality for 6 to 8 months in the freezer, but it remains safe to eat even beyond that time.
- You can use either fresh or frozen cherries. If you’re making this pie for Thanksgiving or Christmas, frozen cherries are probably your best option. Make sure to defrost them first.

Leave a Reply