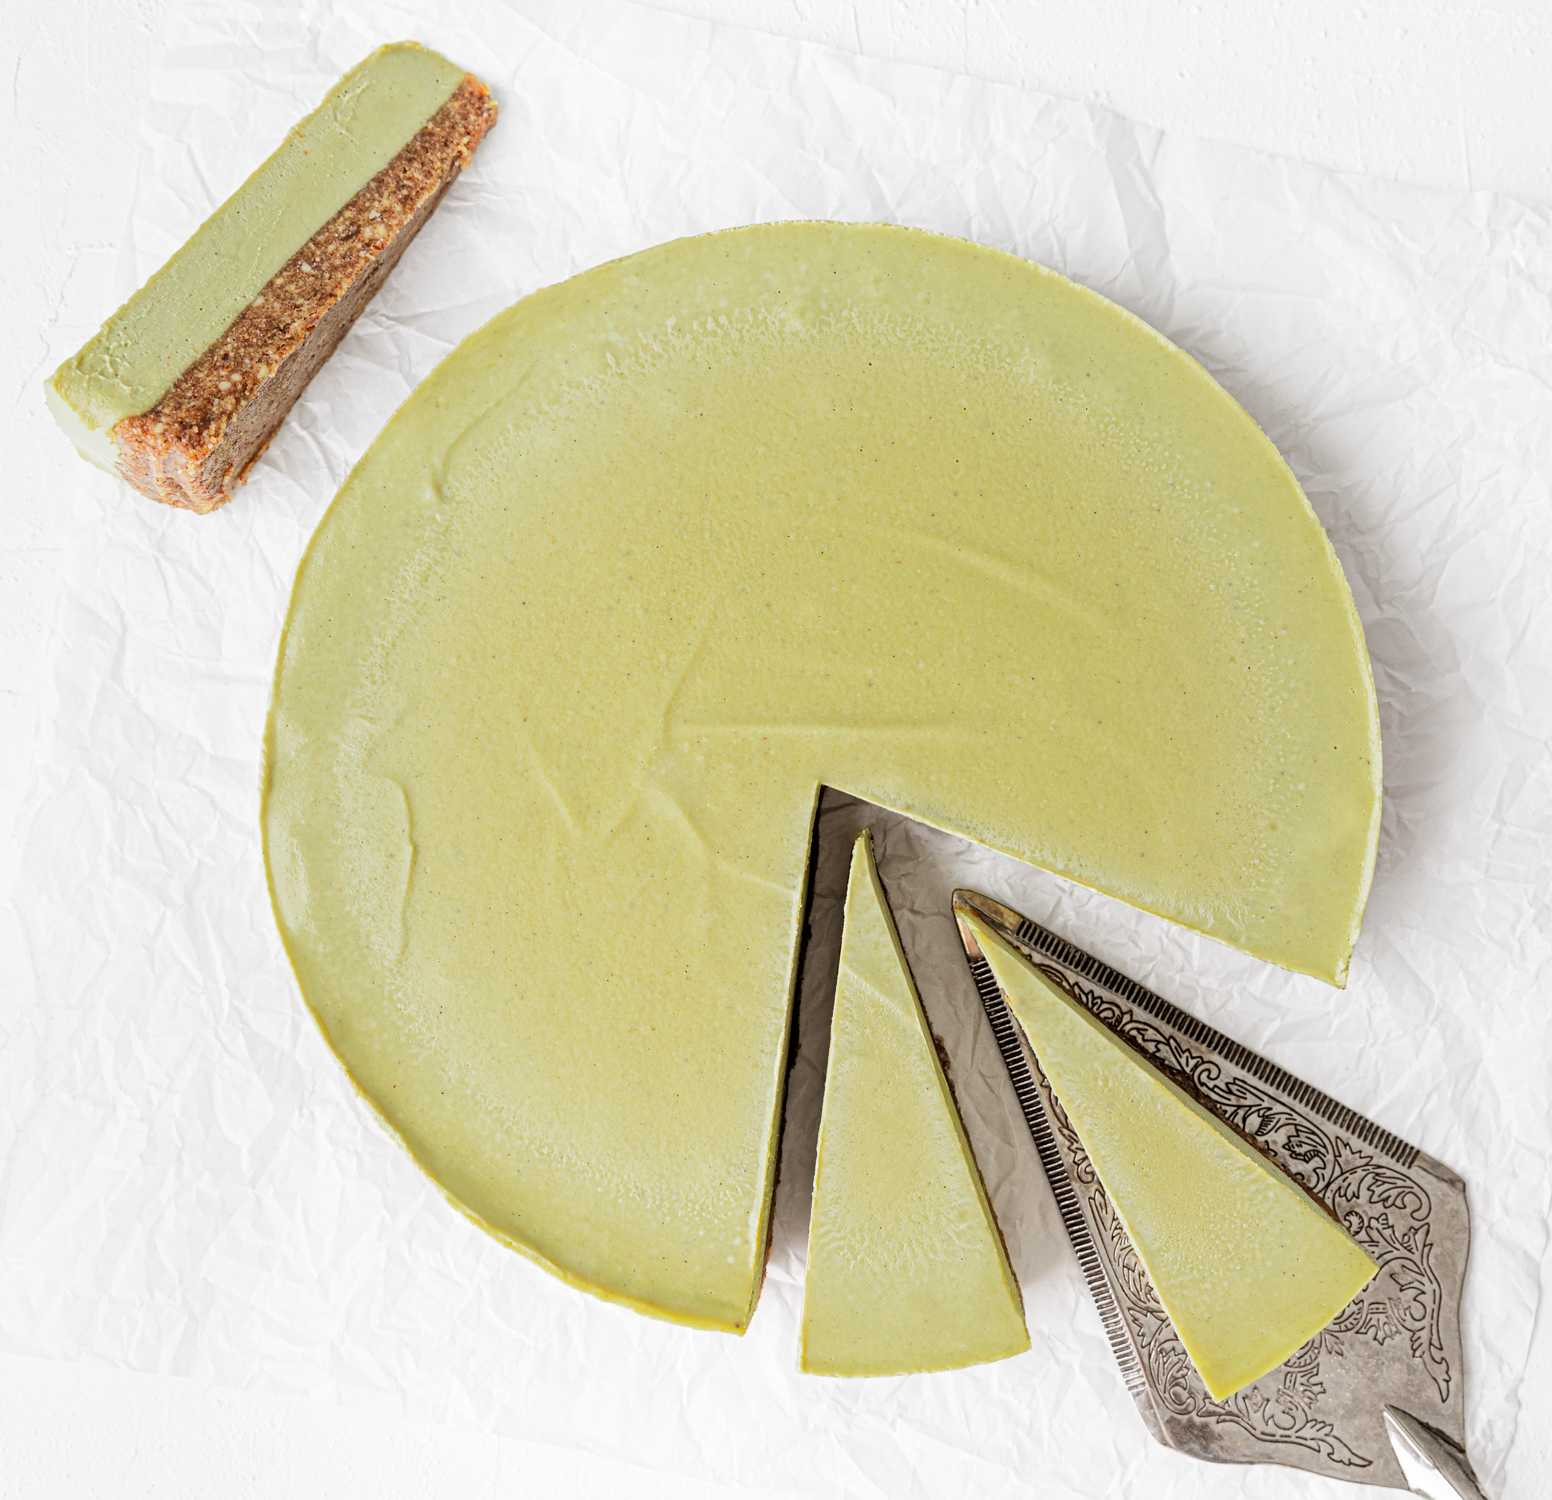
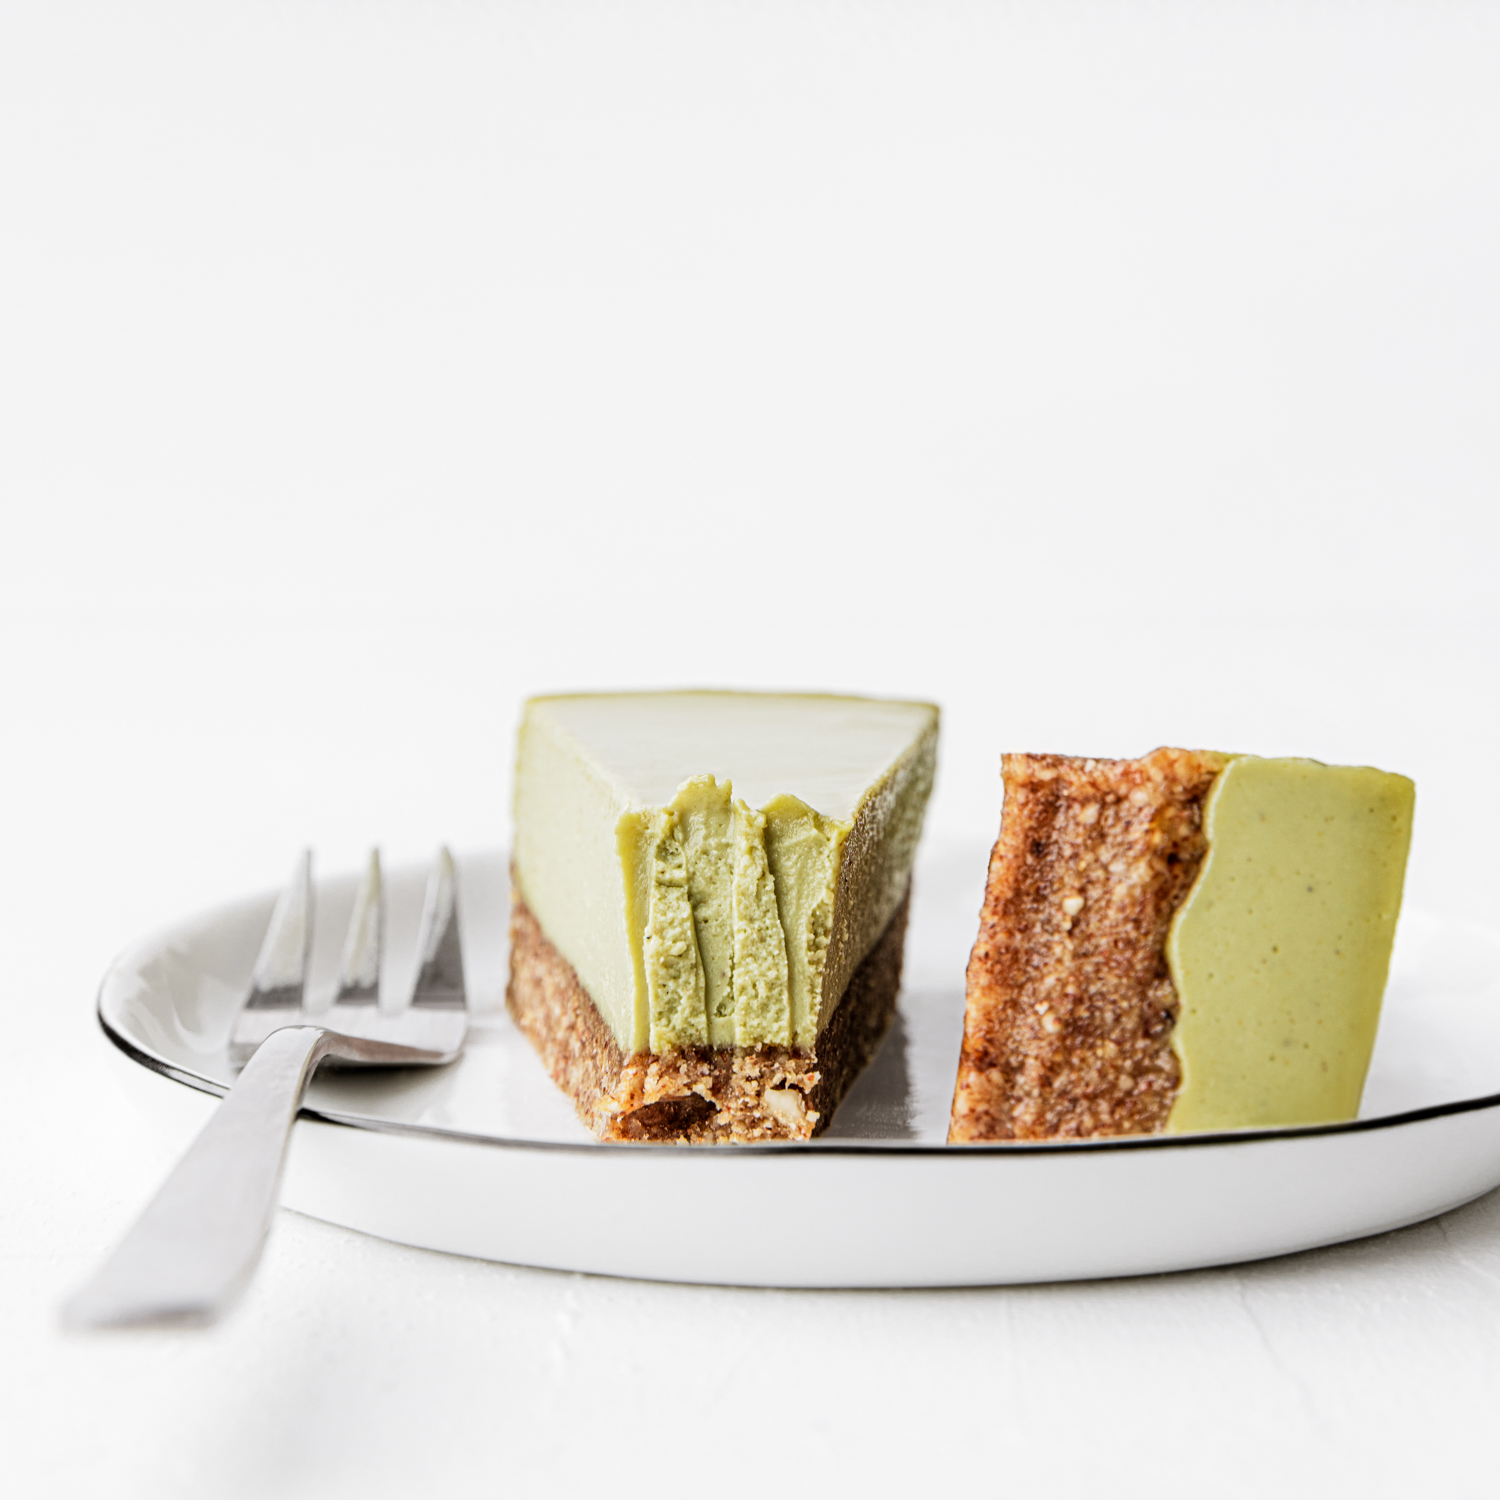
This vegan matcha cheesecake is not only a feast for the eyes, but your palate as well. It combines a raw, naturally sweetened crust made with almonds and dates with a raw, creamy filling, packed with the distinct matcha green tea flavour.
Why You’ll Love This Vegan Matcha Cheesecake
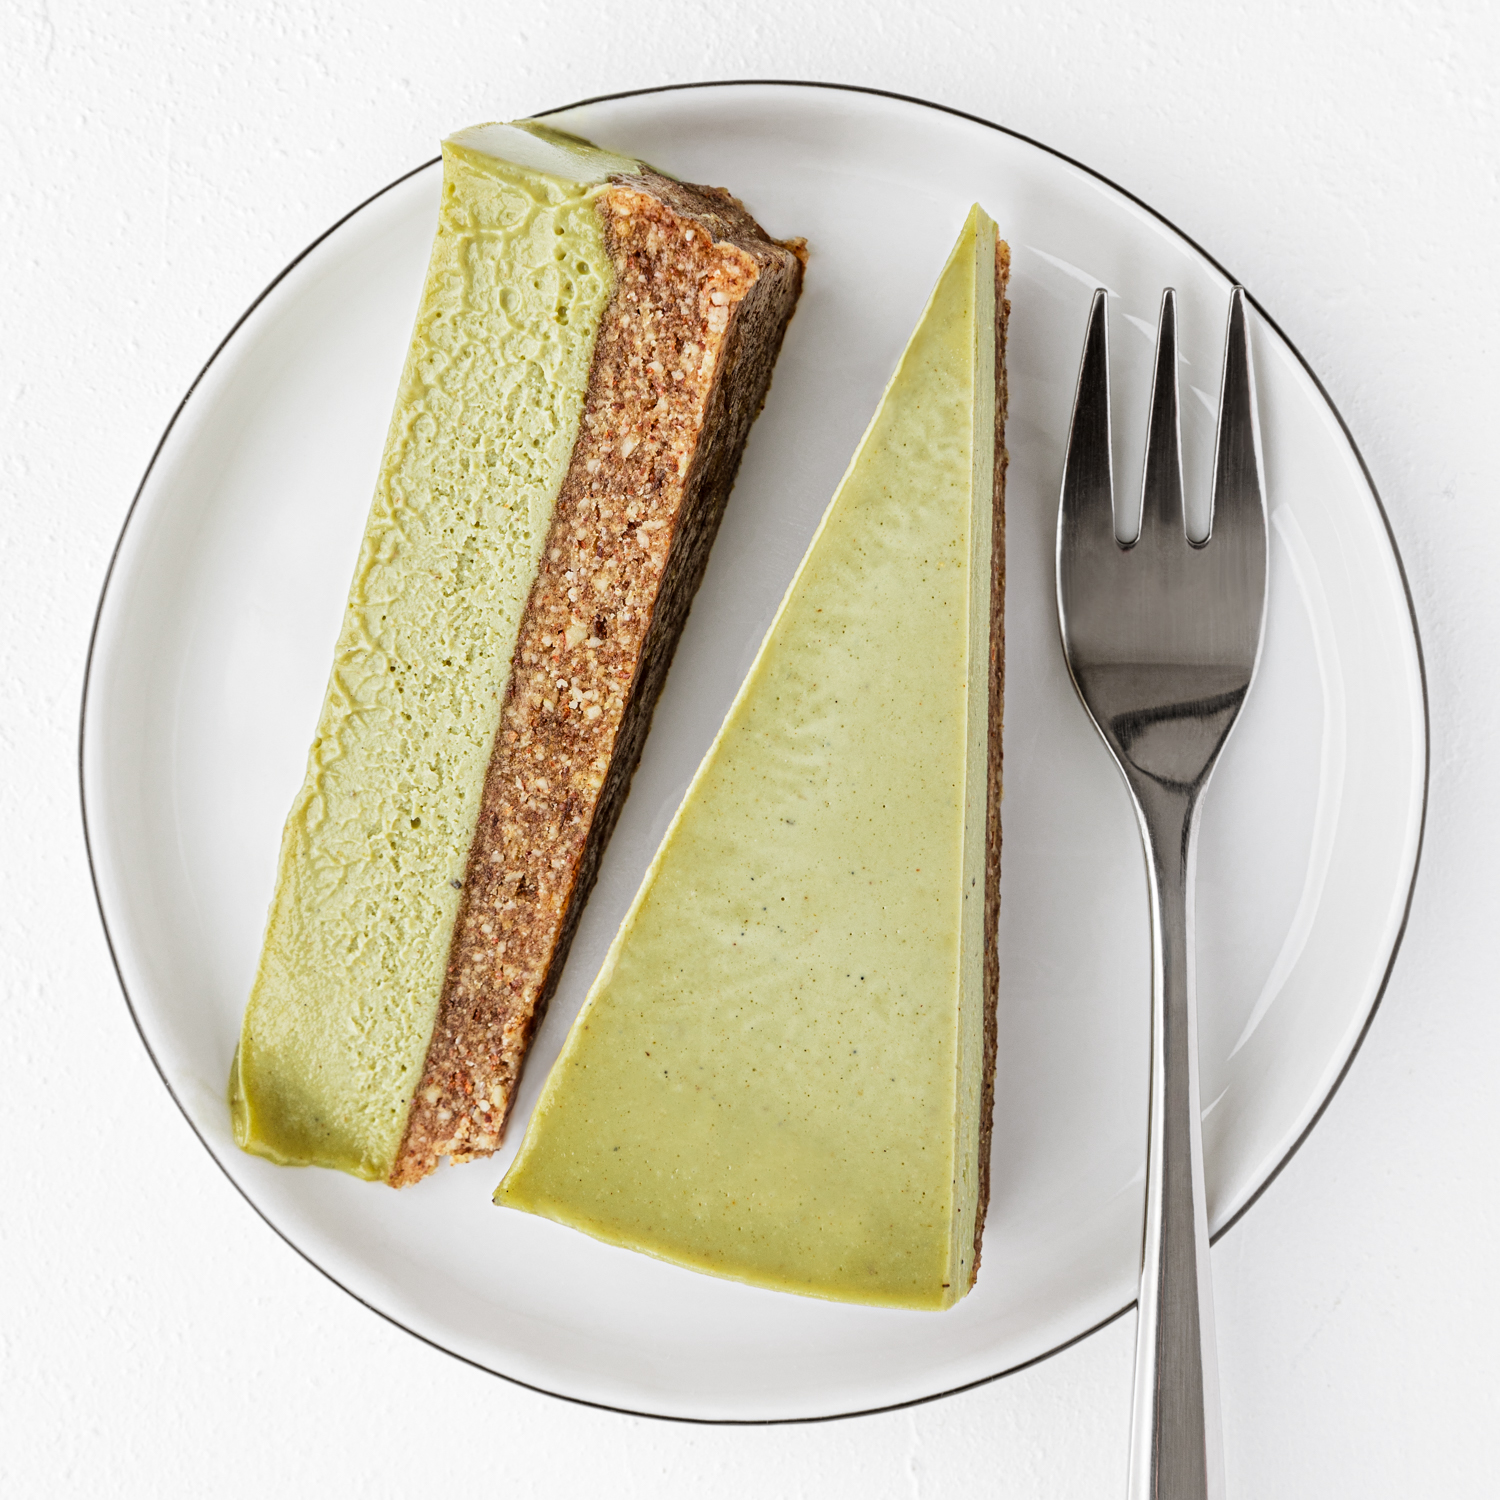
In terms of flavour, this matcha cheesecake is very similar to a cup of iced matcha latte. Mildly sweet with a green tea punch. The texture is absolutely divine, with a very creamy but firm filling and a slightly nuttier bottom. You can keep this cake in the freezer and then let it defrost only slightly in the fridge for the perfect cool, refreshing yet creamy sweet treat.
But, its taste and texture are not the only things to love about this matcha cheesecake. It’s also:
- Gluten free
- Vegan
- Raw
- Naturally sweetened
- Made with only 9 ingredients
- Easy to make ahead and store in the freezer for weeks
Ingredients You’ll Need to Make This No-Bake Matcha Cheesecake
Dates – Medjool dates work the best in no-bake crust, thanks to their soft, almost creamy texture, and rich flavour.
Almonds – use whole almonds for a darker, richer crust
Coconut oil – helps to bind the dates and almonds together.
Cashews – to make cashew cream. It’s important to soak the cashews for a few hours before using them in the filling. You can read more about how to make cashew cream in this tutorial.
Lime – for an extra zing in the filling.
Maple syrup – helps to sweeten the filling.
Vanilla extract – for a bit of that exotic sweetness. The better quality vanilla you use, the better.
Salt – helps to bring out the sweet flavours in the recipe.
Matcha powder – the essential component of this cheesecake! I try to use cafe grade or even ceremonial grade matcha powder even in baking, and generally avoid kitchen/culinary grade, because the difference in flavour and colour is huge. Especially in a raw dessert like this one.
What Is Matcha?
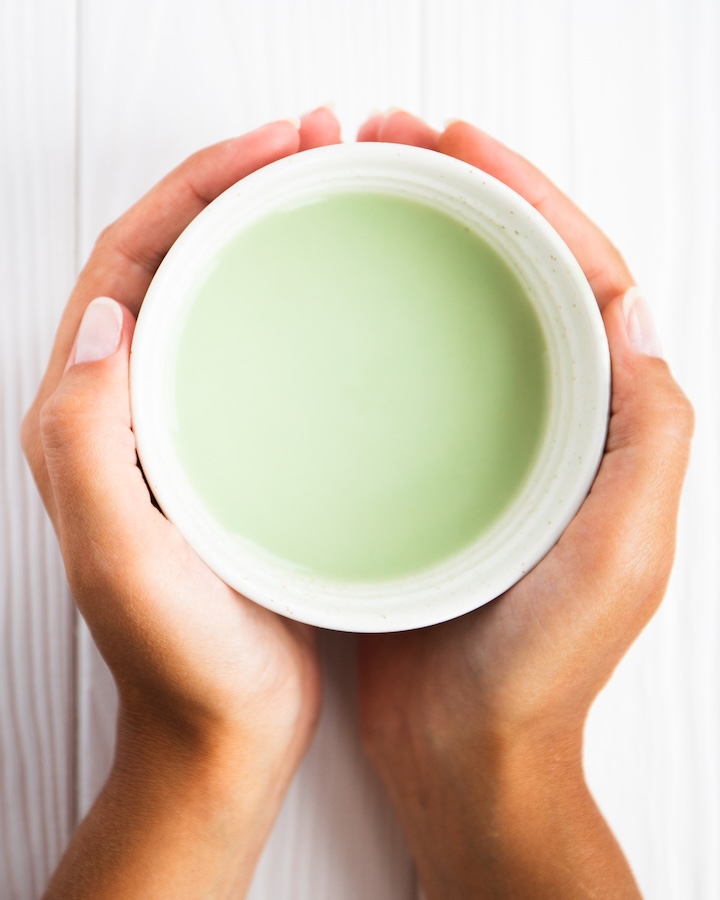
Matcha literally means “powdered tea”, and is essentially ground up green tea leaves. While with traditional green tea you’re drinking the dissolvable elements that tea leaves infuse into the water, with matcha you’re drinking the actual leaf.
This is why a cup of matcha has up to three times the antioxidants of regular green tea. Plus, matcha:
- Can boost metabolism and detoxify your body
- Is rich in fibre and chlorophyll
- Provides vitamin C, selenium, chromium, zinc and magnesium
- Can reduce cholesterol
- Improves mood and mental focus
How to Make Vegan Matcha Cheesecake
Step One – Prepare the No-Bake Crust
Add the dates to a food processor and blend into a paste. Remove and set aside. Blend the almonds into a meal, then add the date paste and coconut oil, and blend until a loose dough forms.
Line a 7-inch pie pan or cake dish with baking paper, add the crust dough and press it down with your fingers until distributed evenly.
Step Two – Prepare the No-Bake Filling
Add the cashews, lime, maple syrup, vanilla, salt and matcha powder to a high-speed blender, and blend until perfectly smooth.
Step Three – Assemble and Chill
Pour the filling into the crust and tap a few times to release any air bubbles.
Cover loosely with a plastic wrap and freeze until set, about 3 to 4 hours. To serve, leave it at room temperature until slightly soft to the touch, about 15-20 minutes.
Extra Tips to Make Sure This Turns Out Well for You
- Make the cheesecake in a springform pan if you have one. This will make removing the cheesecake so much easier and the chances of it getting damaged much smaller.
- Even if you’re using a springform pan, layer the bottom of the pan with a sheet of parchment paper, cut out into a circle to fit. This will stop the crust from sticking to the bottom.
- Keep the cake in the freezer and let it defrost for 15-20 minutes before eating.
Vegan Matcha Cheesecake FAQs
How many servings does this make?
The recipe makes one 20cm cheesecake, or 8 slices.
How long will this recipe keep?
You can keep the cheesecake in the freezer for a month, and in the fridge for 3 to 5 days.
How do I store this matcha cheesecake?
Like all raw vegan cheesecakes, this matcha cheesecake is best when kept in the freezer. You can also keep it in the fridge for up to 3 days, I like to keep it in the freezer from day 1. The cake is best when enjoyed after it’s been out of the freezer for about 15-20 minutes, because it’s still quite firm, but the flavours have a chance to fully develop and the texture becomes more luscious.
How do I serve this matcha cheesecake?
Remove the cheesecake from the freezer and allow it to soften at room temperature for 15-20 minutes for the optimal taste and texture.
What if I don’t like matcha?
To be perfectly honest, this no-bake cheesecake is delicious and there’s a very high chance you’ll love it even if you’re ordinarily not the biggest fan of matcha. It’s sweet, creamy and refreshing, and there’s not much not to like about it.
More Matcha Recipes
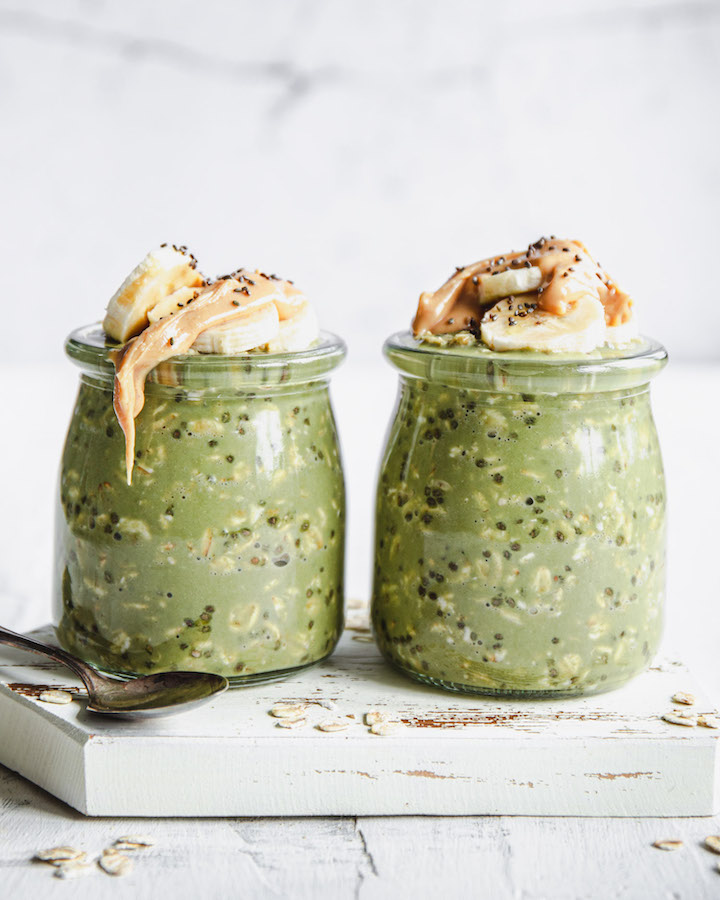
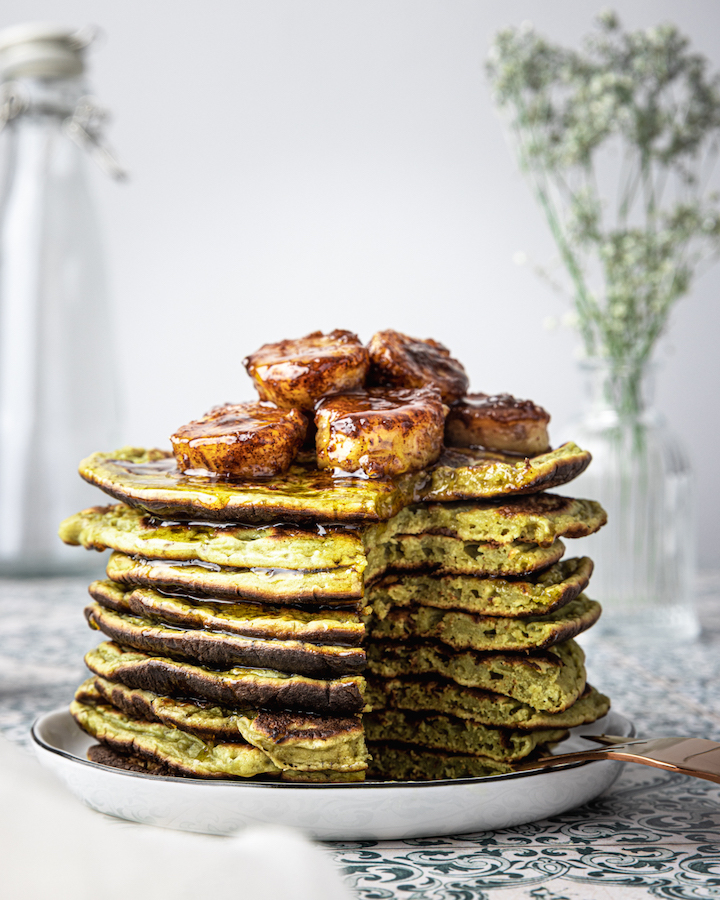
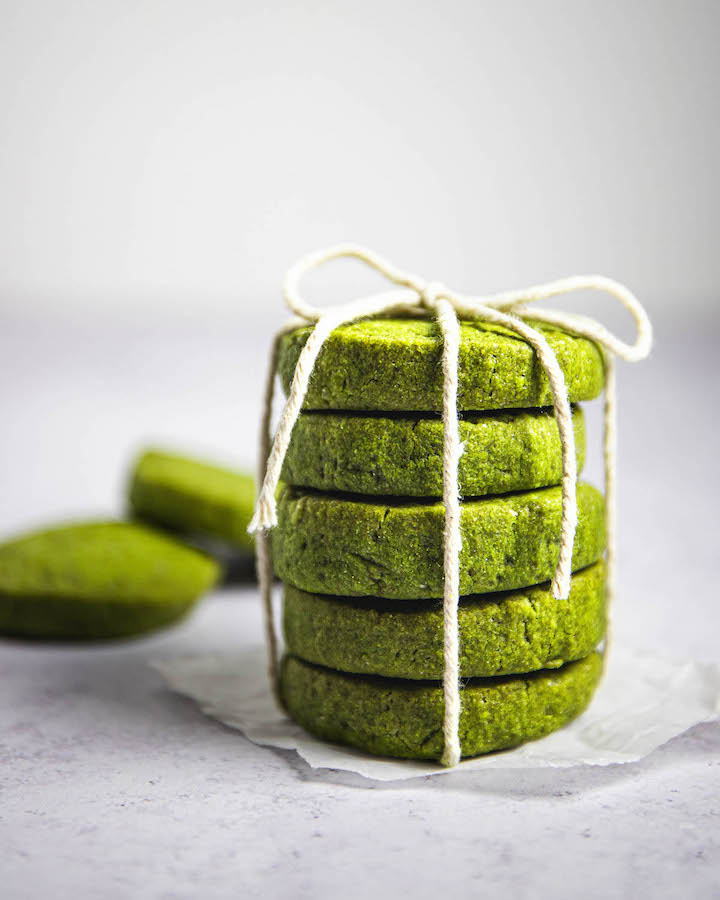
If you’re a fan of matcha, make sure you try out these matcha muffins, matcha cookies, matcha pancakes or these matcha doughnuts.
Or, click here for a complete listing of vegan matcha recipes.
Vegan Matcha Cheesecake
Ingredients
Crust
- 1 ½ cup (220g) dates
- 1 ½ cup (250g) almonds
- 1 ½ tablespoon (1.5 tablespoon) coconut oil
Filling
- 2 ¼ cup (300g) raw cashews soaked overnight
- ½ cup (75g) coconut oil
- 1 medium lime, juiced
- ¾ cup (165g) maple syrup
- 2 teaspoons vanilla extract
- Pinch of salt
- 3 teaspoons matcha powder
Instructions
- In a medium sized bowl, cover cashews with water and let them soak overnight, or for at least 6 to 8 hours. Alternatively, soak them in boiling hot water for 1 to 2 hours. Drain well and set aside. You can read more about how to soak cashews here.
- To make the crust, add the dates to a food processor and blend into a paste. Remove and set aside. Blend the almonds into a meal, then add the date paste and coconut oil, and blend until a loose dough forms.
- Line a 7-inch pie pan or cake dish with baking paper, add the crust dough and press it down with your fingers until distributed evenly.
- To make the filling, add all the filling ingredients to a high-speed blender, and blend until perfectly smooth.
- Pour the filling into the crust and tap a few times to release any air bubbles.
- Cover loosely with a plastic wrap and freeze until set, about 3 to 4 hours. To serve, leave it at room temperature until slightly soft to the touch, about 15-20 minutes.

Leave a Reply