This short guide for making vegan pie crust with coconut oil is here to show you that vegan baking is not complicated at all. Whether you’re a complete beginner or an experienced baker, you need to give this simple 3-ingredient vegan pie crust a try. It’s firm but flaky, and goes great with almost any sweet or savoury filling.
If you’re new to the world of baking, making a pie crust from scratch is scary enough, but if you’re making a vegan pie crust without any prior baking experience, it’s normal if you’re feeling a bit discouraged.
Fear not. Making pie crust, even a vegan one, from scratch is not exactly rocket science, and if you follow the steps and tips outlined in this short guide, you’ll have a tasty, perfectly flaky pie crust baking in the oven in no time.
You can use this pie crust recipe with your favourite pie filling, or try it with some of my vegan pies, like this vegan lemon meringue pie, this vegan pecan pie or this peach pie.
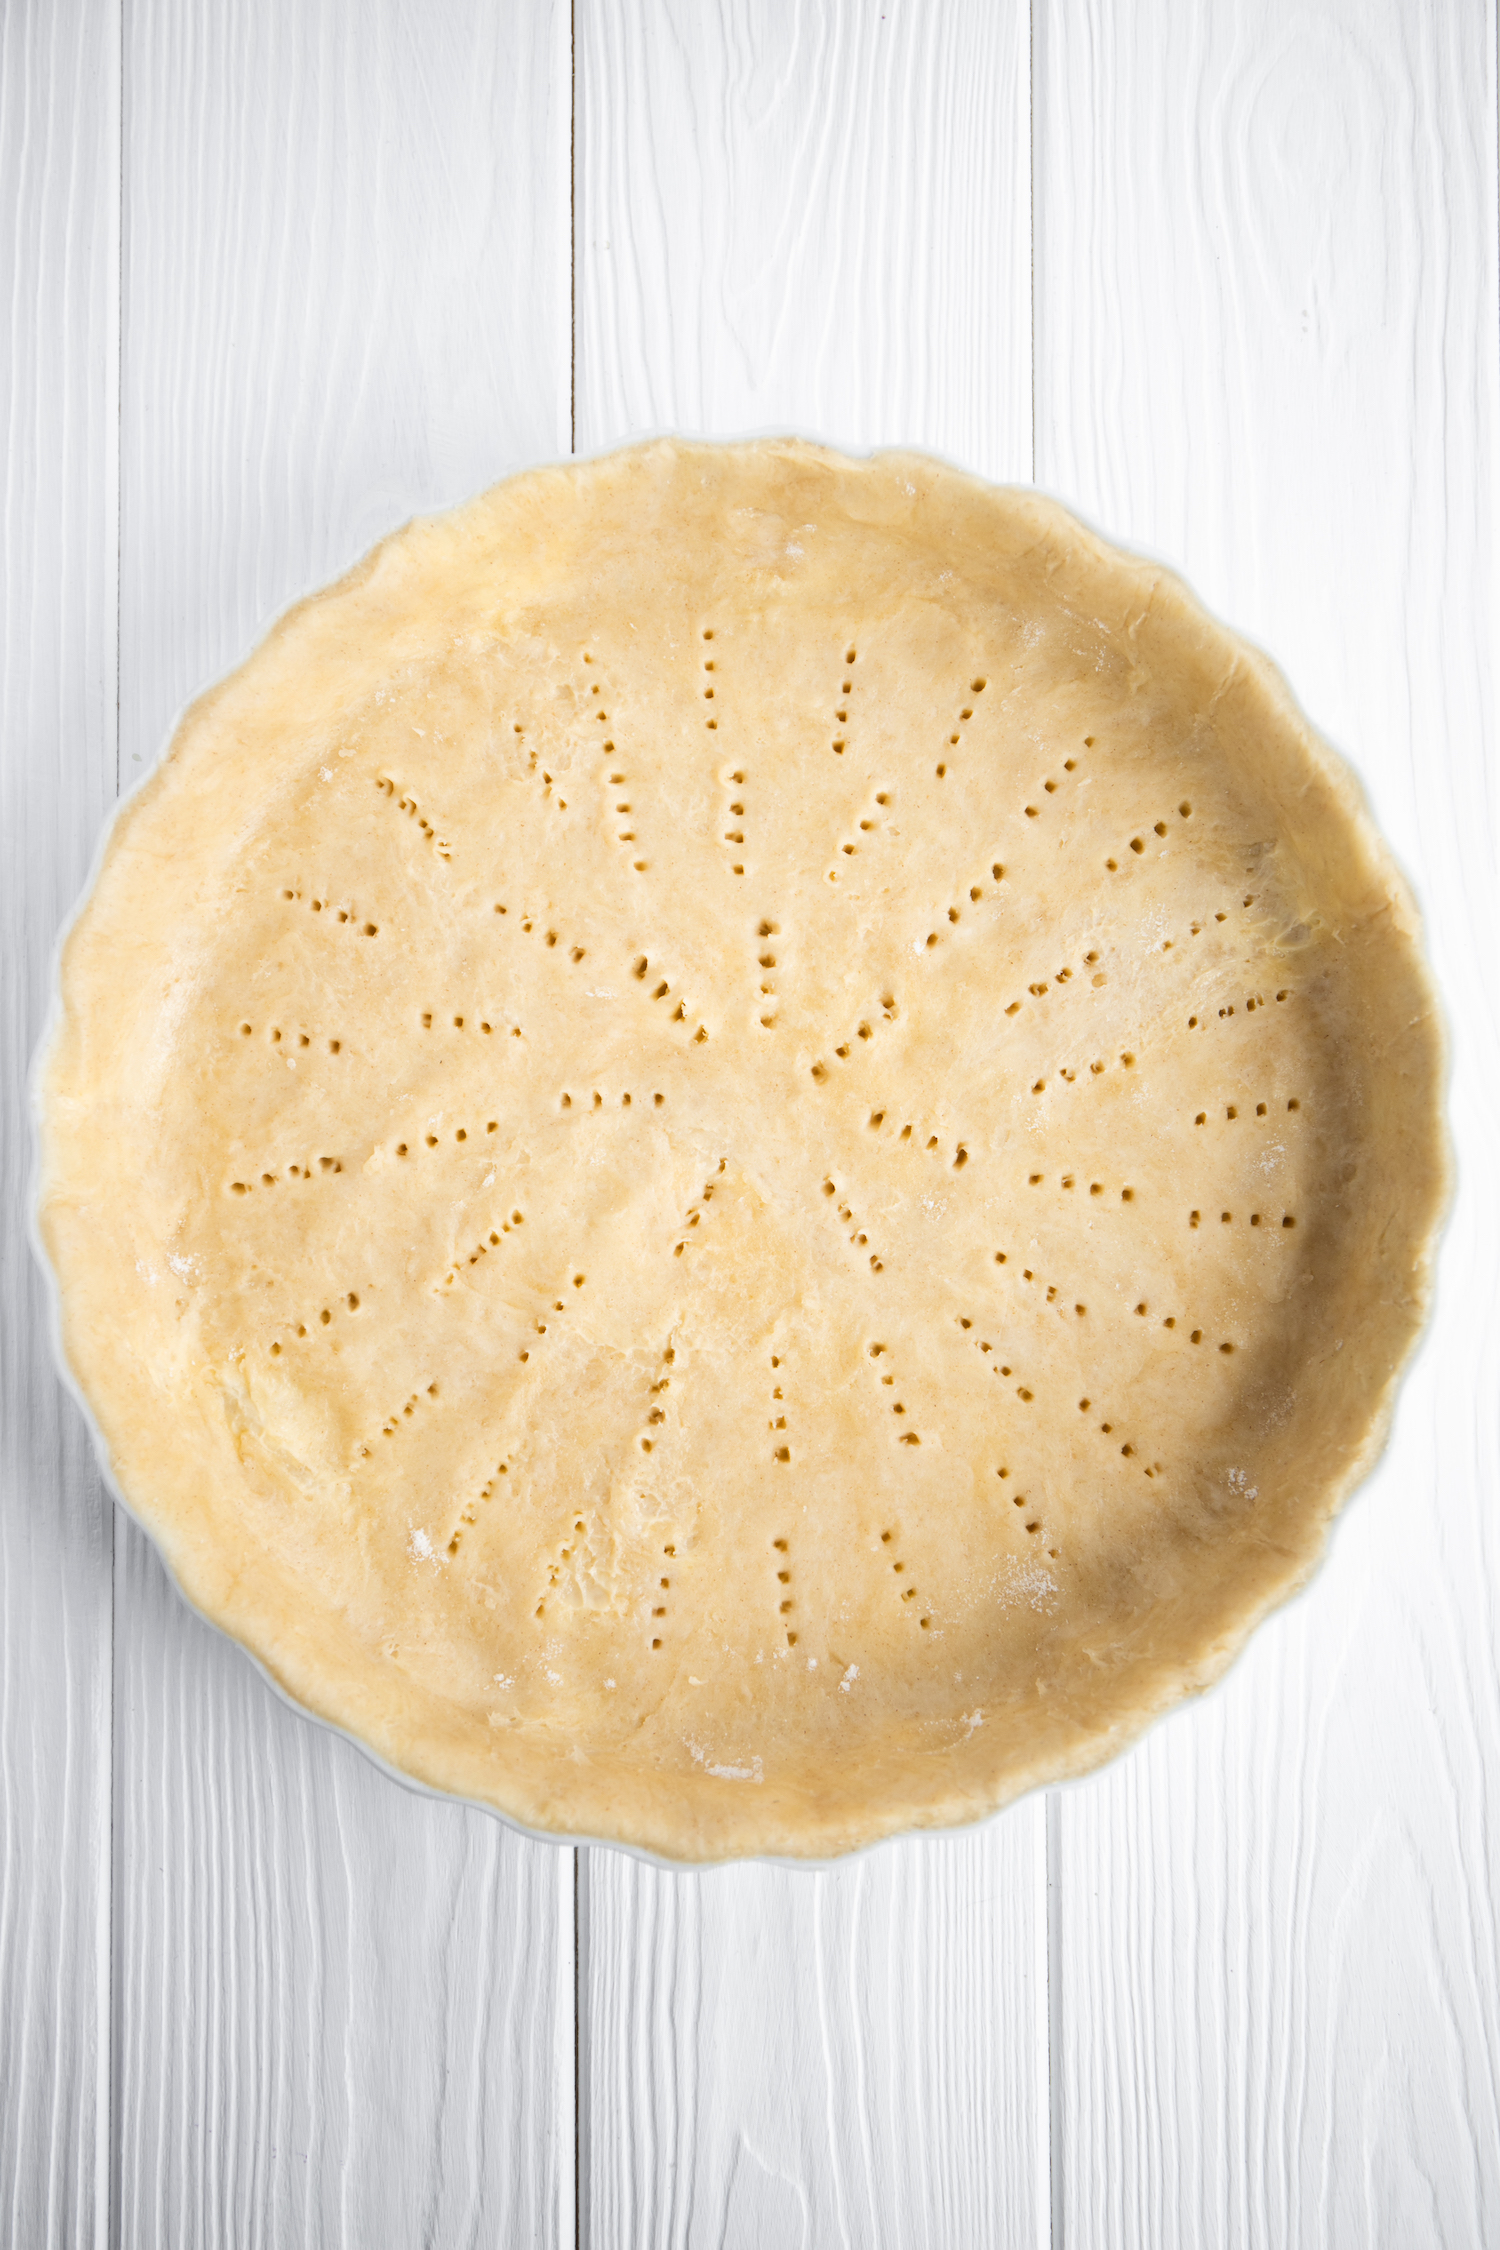
Equipment You’ll Need to Make Vegan Pie Crust
Making a pie doesn’t require any special equipment, but you might want to check you have the following at hand:
- Mixing bowl
- Pastry cutter or a fork
- Plastic wrap
- Rolling pin or a bottle
- Pie plate – this recipe is for a 9-inch pie plate
How to Make the Flakiest Pie Crust
If anything, pie crust needs to be flaky. And once you understand what gives this pastry its most distinct quality, all other tips on how to make the perfect pie crust, from using iced water to chilling the equipment, just start to make a whole lot more sense.
Pie dough is made up of pockets of fat coated in flour and hydrated flour (flour mixed with water). By cutting tiny pieces of fat into the dough and then rolling it out, you crate thin layers of fat and hydrated flour. When the crust bakes, the fat melts, making the dough crispier while revealing those flaky separated layers of dough.
So, the number one tip for making flaky pie dough is this – make sure the fat doesn’t melt and mix with the flour. Which translates to:
- Make sure you use solid fat, preferably refrigerated.
- Use iced water. This will prevent the fat from melting.
- Cool all your equipment (bowl, fork, rolling pin) in the fridge if possible.
- Use your hands as little as possible to prevent the fat from melting.
- Do not over-knead the dough. Use a pastry cutter or a fork to cut pieces of fat into the dough, and then let the dough rest in the fridge for at least 2 hours.
Different Fats Suitable for Vegan Pie Crust
Vegan pie crust can be made with different types of vegan fat. Here are three most common ones.
Vegan butter – has classic butter flavour and is easy to work with, but has varying moisture levels, which means the end result depends on the specific brand you’re working with.
Vegetable shortening – affordable and easy to work with, but can taste a bit bland.
Coconut oil – most difficult to work with, but is a pure fat (no varying moisture levels) and can add coconut flavour.
This recipe for vegan pie crust calls for coconut oil, which is the most difficult and time consuming fat to work with, but still my favourite. Here’s what you need to know about making pie crust with coconut oil:
- Requires strict temperature control, as it moves quickly between a solid and liquid state.
- It’s pure fat, which means it will behave the same no matter which brand you’re using.
- Can add the distinct coconut flavour to your pastry if you’re not using refined coconut oil.
Should I use regular or refined coconut oil?
This is entirely up to you. Regular coconut oil has a strong coconut flavour, while refined coconut oil tastes rather bland and doesn’t really add any flavour to the pie crust. If you think the taste of coconut might go well with the pie you’re making, I recommend using regular coconut oil.
How to Make Vegan Pie Crust with Coconut Oil
Step One – Mix Flour and Salt
All ingredients and equipment should be as cold as possible. Place your measured flour, coconut oil, bowl, pastry cutter or fork, rolling pin, spatula and whatever else you’re planning to use in the freezer for a few minutes before starting the recipe.
Step Two – Add Coconut Oil
Cut the chilled coconut oil into the flour using a pastry cutter or a fork until the fat is in very small pieces.
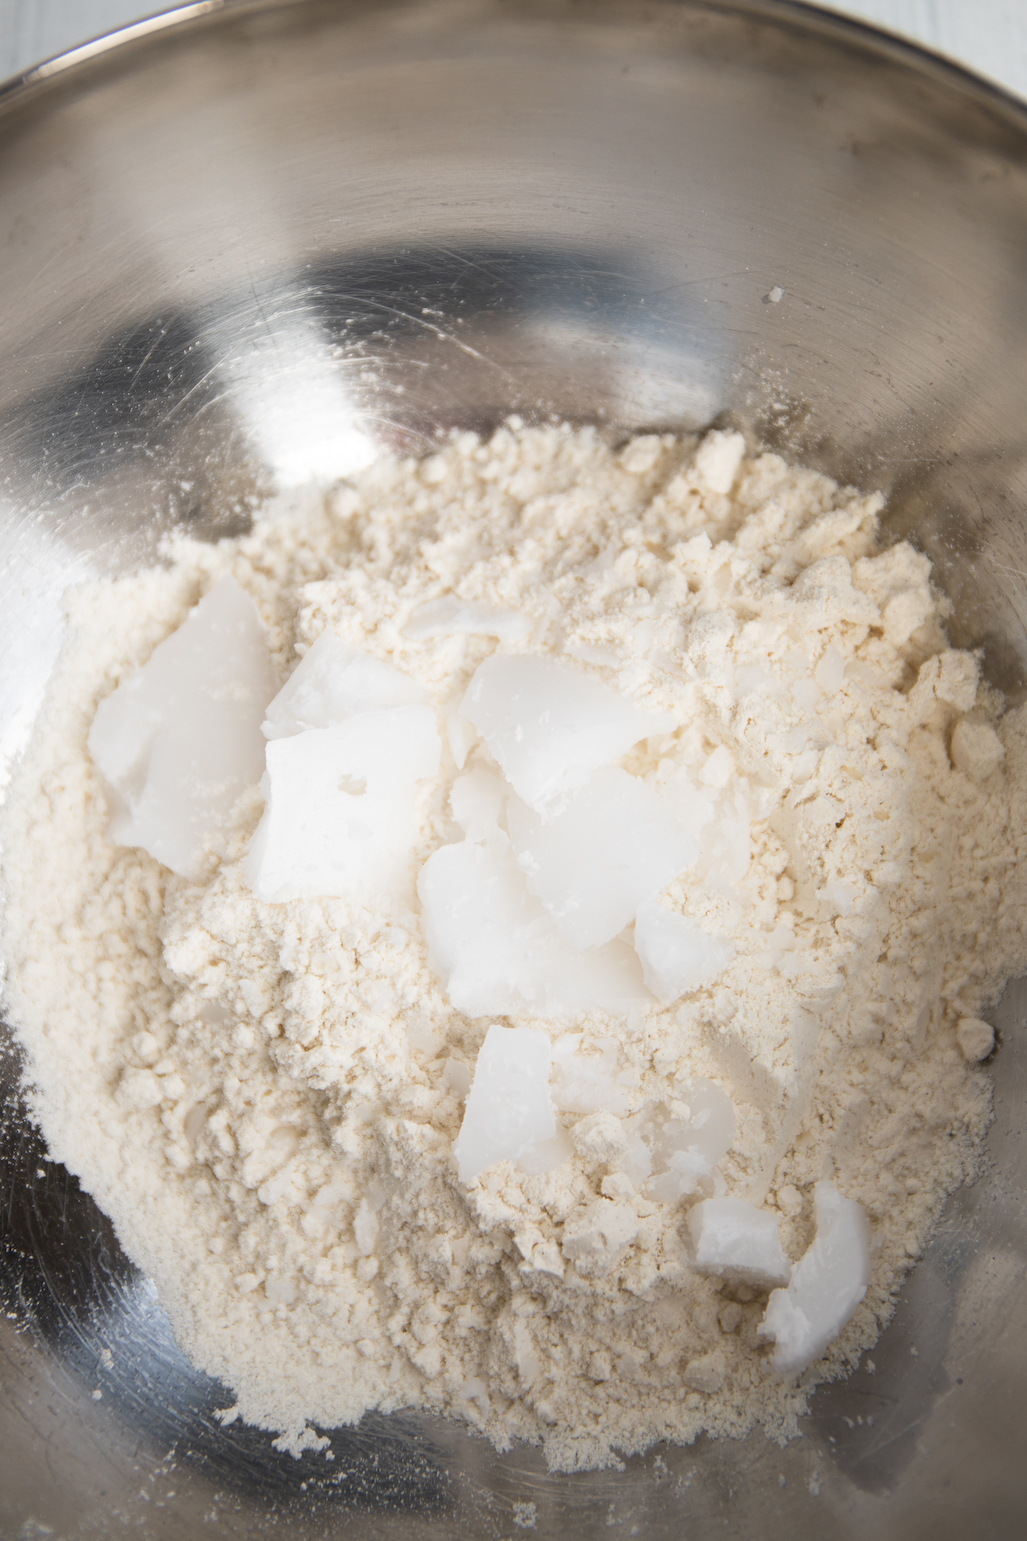
Pro tip: Measure flour and coconut oil by weight. Using a digital kitchen scale leads to much more consistent results than using cups. While it’s not a big deal to not use a scale for some recipes, pie crust is a delicate pastry and the flour to fat ratio is crucial for getting the texture just right.
The imperial system doesn’t take density into account, which means that if you pack your cup slightly more than I did, you can end up using a lot more flour, which will result in a dry, tough pie crust.
Yes, some experienced pie bakers might be able to eye ball the ratio and make that perfectly flaky pie crust every single time, but if that’s not you, I suggest following the recipe and using a kitchen scale.
Step Three – Add Iced Water
Start adding iced water one tablespoon at a time, while gently mixing the dough with a fork. Keep adding the water until the pie dough starts to clump together, but stop before it gets too wet or sticky. 4 to 5 tablespoons are usually ideal for me, but this depends on how dry your flour is.
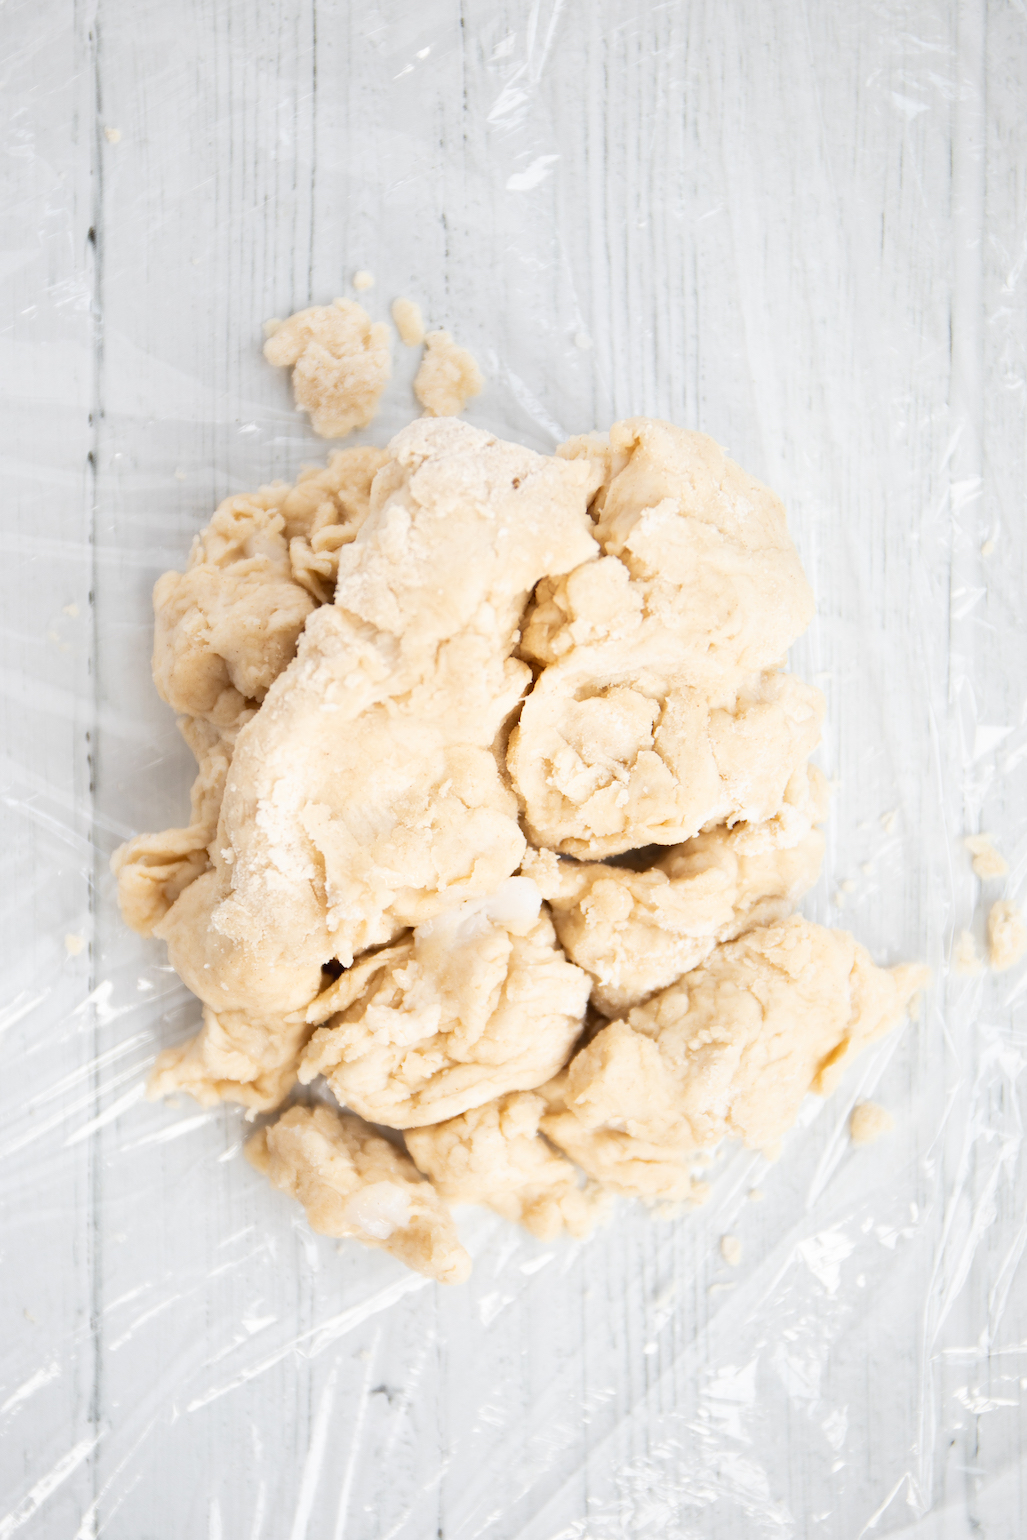
Pro tip: Too much water will result in a tougher pie crust. Adding too little water will make the dough harder to work with and most likely cause it to crack. Use enough iced water for the dough to come together. You should be able to squeeze it in your hand, though it will still look a bit crumbly.
Step Four – Make the Dough and Refrigerate It
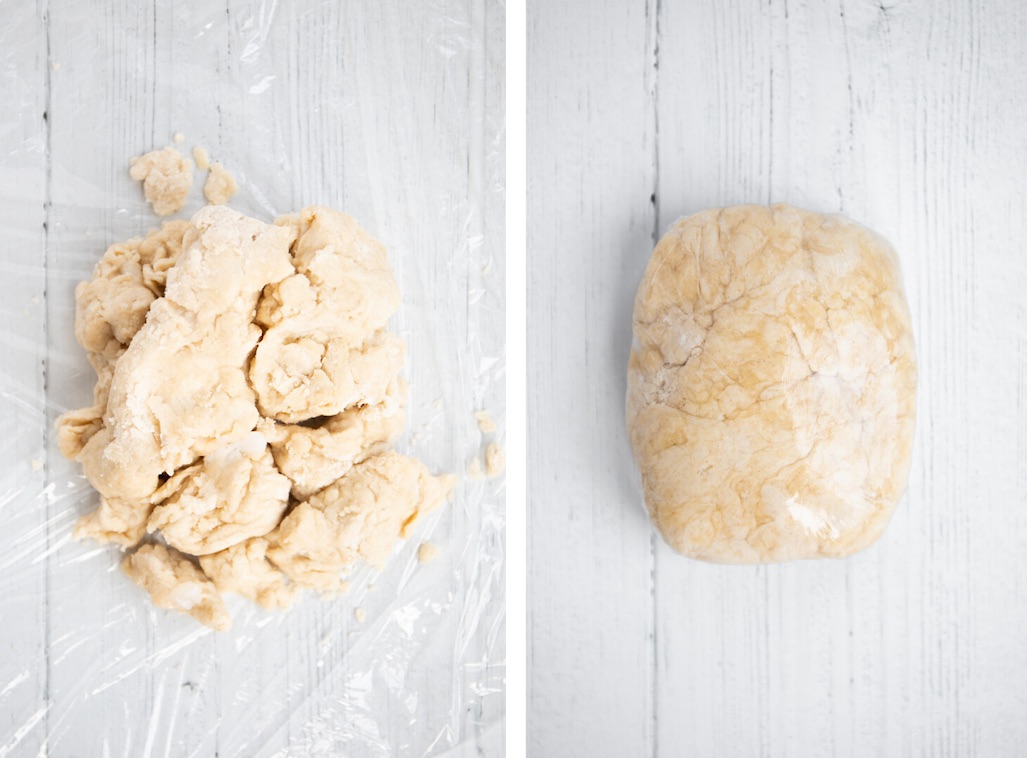
Lay out a piece of plastic foil on your countertop, dump the dough in the centre and then wrap the dough very tightly into a flat disk. Press it down with your hands until the plastic wrap expands.
Refrigerate the dough for at least 2 hours.
Step Five – Roll Out the Dough
Unwrap the chilled vegan pie dough and place it on a floured surface. Start rolling from the centre of the dough out to the edges. Roll it in different directions to create a circular shape. Roll out the dough until it is about 2 inches larger than your pie plate.
Pro tip: If you’re concerned about the pie dough sticking, roll it out on a floured piece of parchment paper.
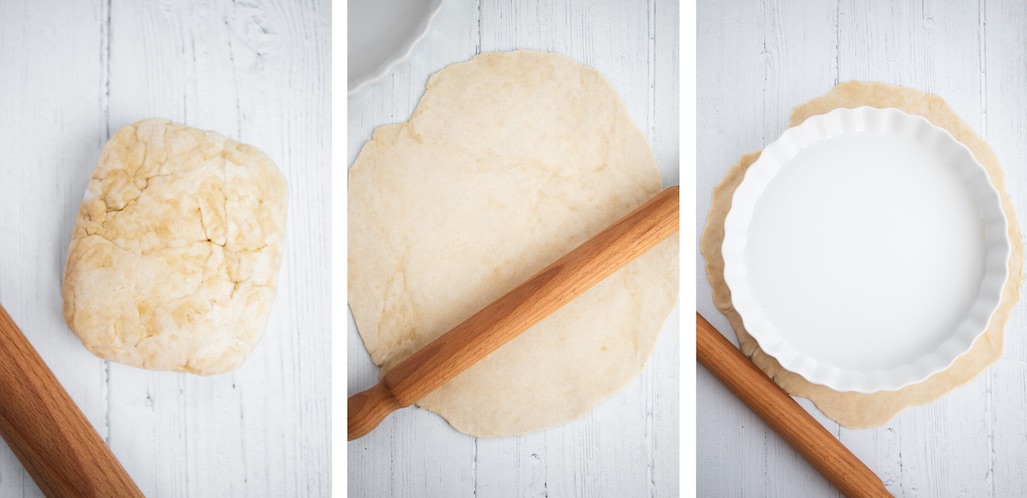
Gently lift the dough from your work surface using a metal spatula and transfer it to the pie plate.
Make sure the dough lays flush with your pie plate, and leave 1 inch (2.5cm) of excess dough for folding and fluting the edges. Using your fingers, mend any cracks by lightly pinching them together and then smoothing them out.
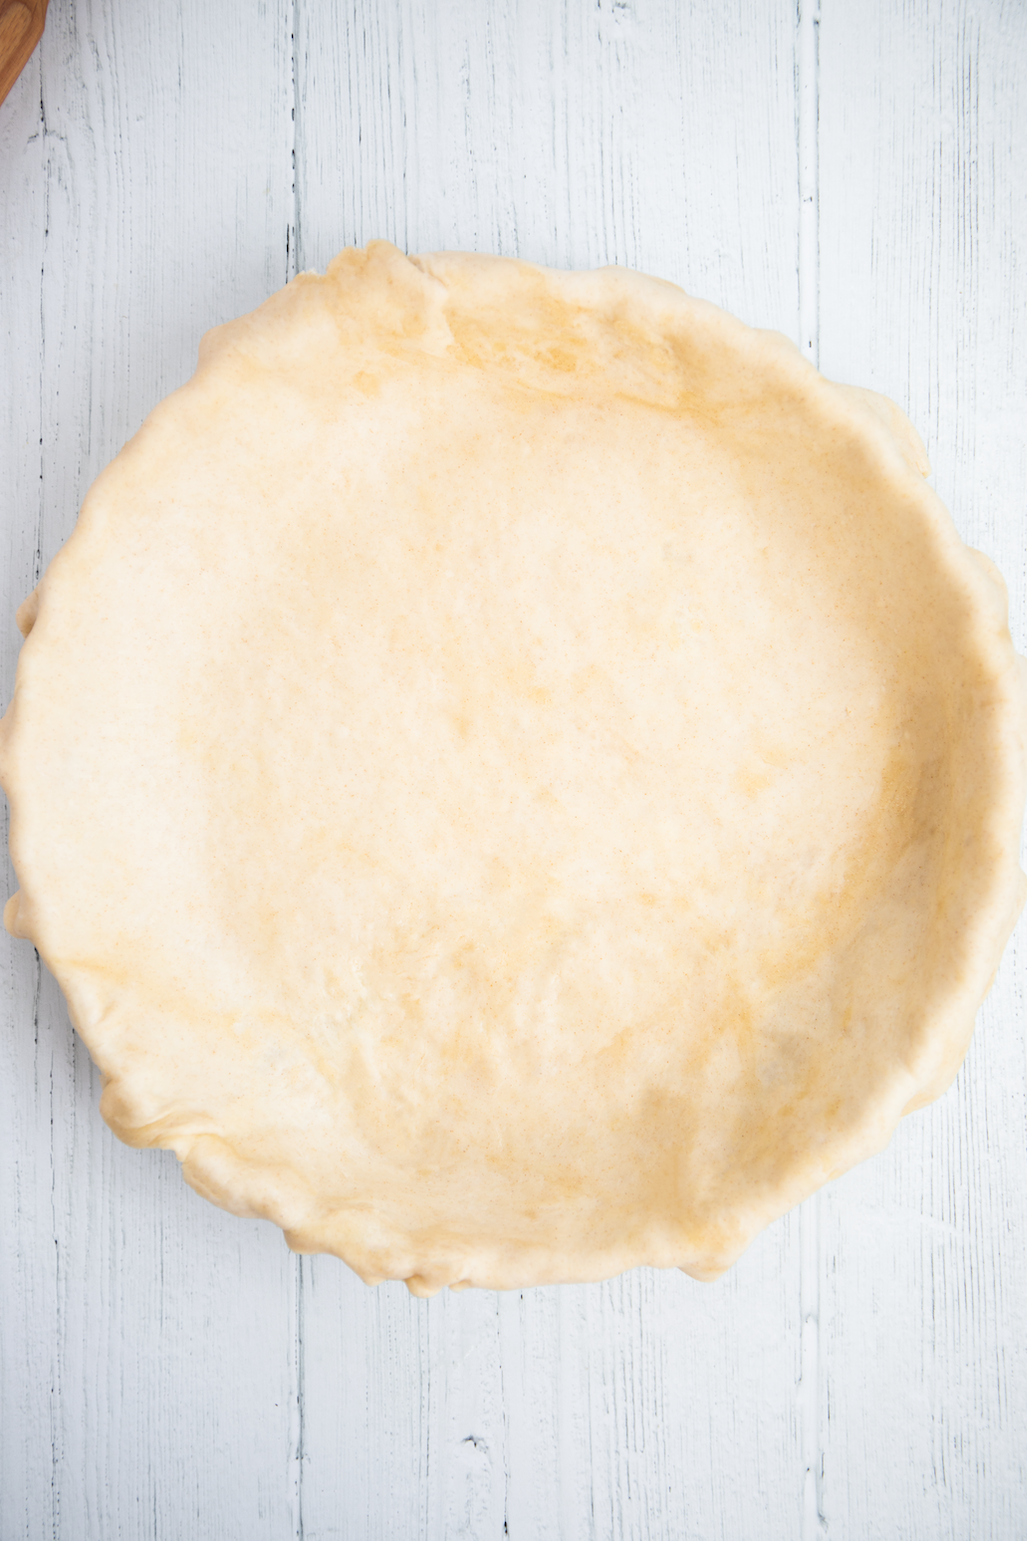
Step Six – Flute the Edges
Flute the edges by slowly folding the excess dough under itself to make a smooth, clean edge, folded on the rim of your pie plate. Then, using your thumbs and index fingers, pinch or flute the edge of the pie crust. If this seems too complicated or time-consuming for your taste, simply use a fork to press into the edges of the crust for a decorative effect.

Homemade Vegan Pie Crust FAQs
What size pie dish is this pie crust for?
The pie dish you can see in the photos is 9-inches. If your pie dish is smaller, you can simply cut any extra dough off.
Can I make this pie crust ahead?
You can prepare the dough ahead and then store it either before rolling it out, or freezing it rolled out.
How long can I keep the dough in the fridge?
To store it in the fridge, prepare the pastry dough as directed, but don’t roll it out. Instead, flatten the pastry into a patty or form it into a ball, then wrap it in plastic wrap and put it in an airtight container.
You can keep homemade pie crust in the fridge for up to 3 days. Be sure to allow the pastry to come to room temperature before rolling out for pie.
Does it freeze?
Yes. To freeze the dough before rolling it out, place it in a freezer bag and freeze it for up to 3 months. When you’re ready to bake, thaw the pastry overnight in the refrigerator.
To freeze rolled out pie crust, fit it to a freezer-to-oven pie plate or tart pan. Place both the pastry and the container in a freezer bag and freeze as directed. In order to bake frozen pastry shells without thawing, you must be sure to use a freezer-to-oven pie plate. You may need to add 5 or 10 minutes to the baking time.
Do I have to pre-bake this crust?
No, in most cases you don’t have to pre-bake or “blind bake” your crust. Only pre-bake the crust if the recipe calls for it.
Pies to Make with This Vegan Pie Crust
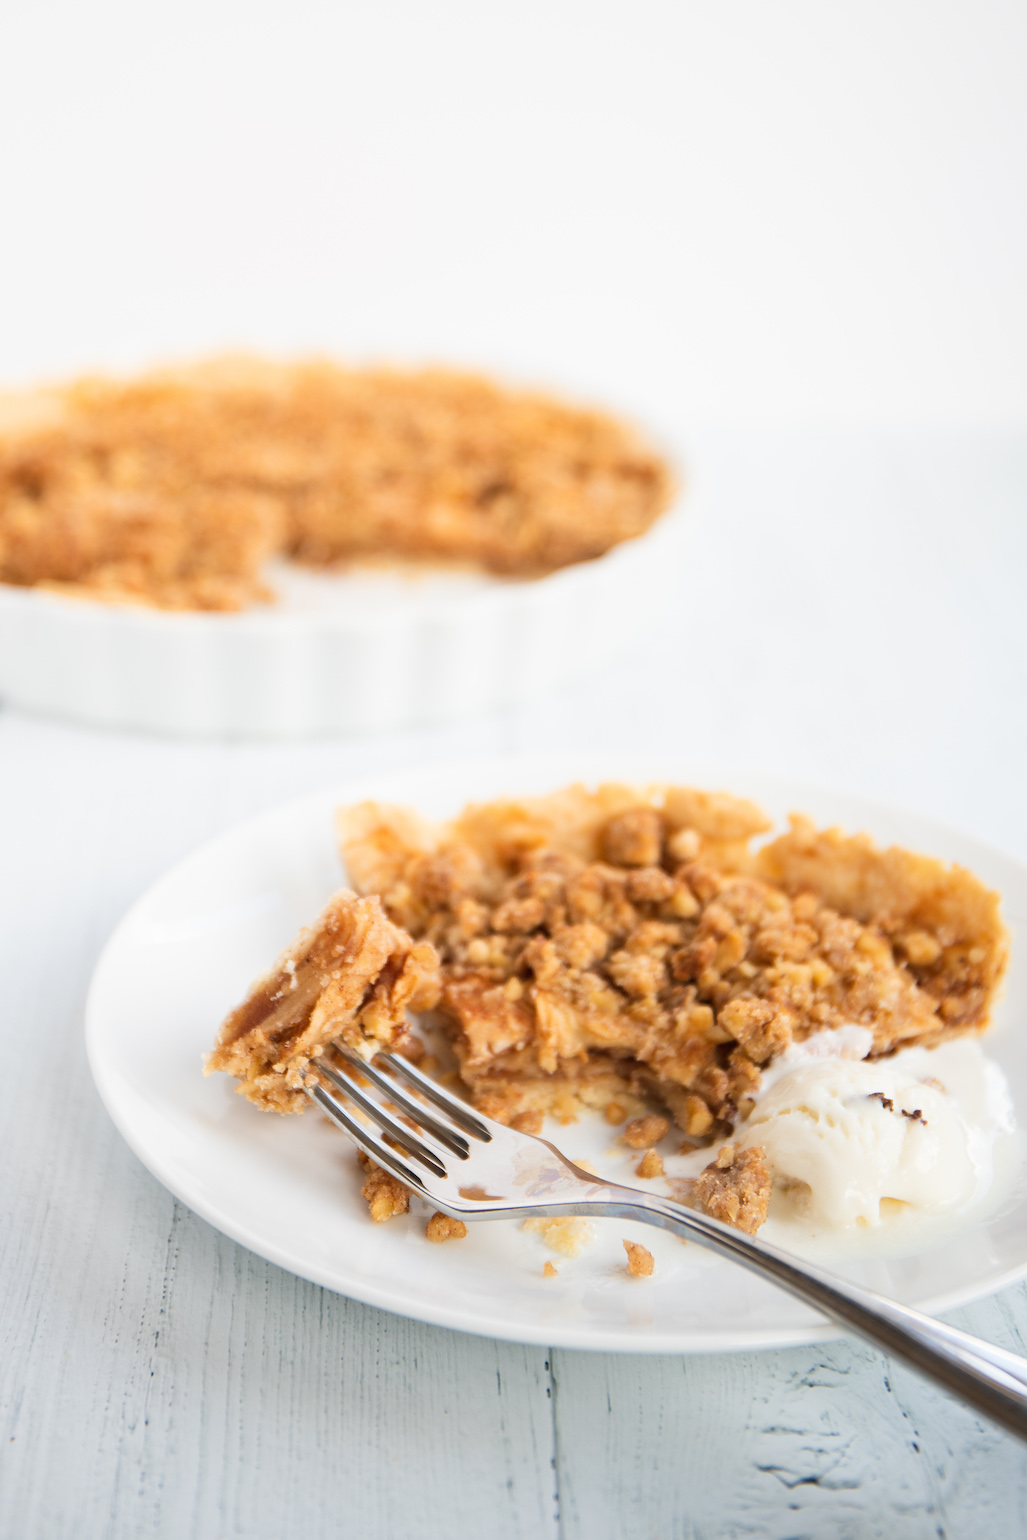
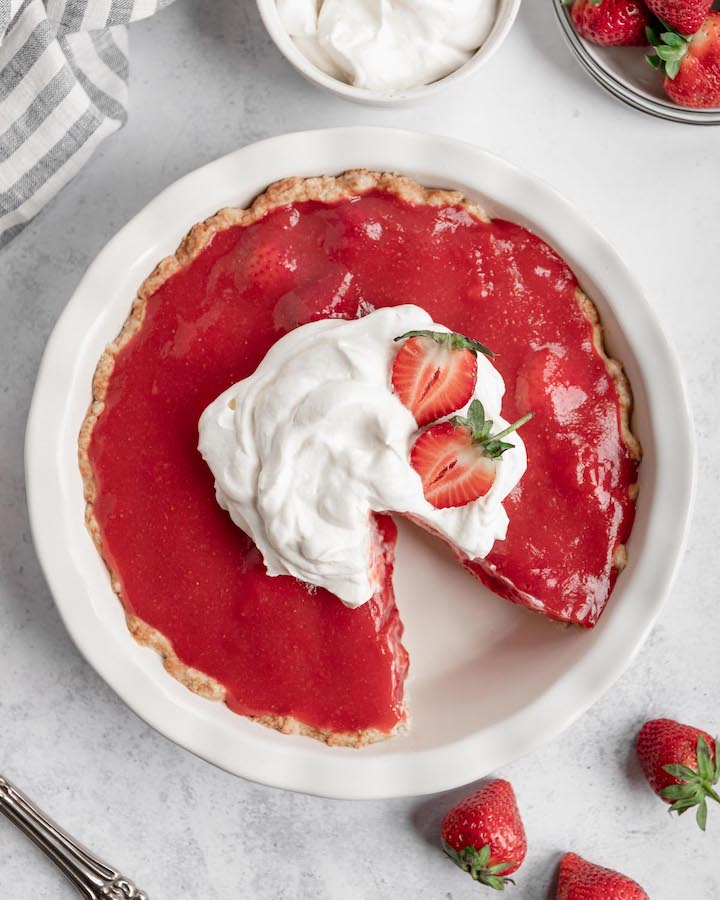
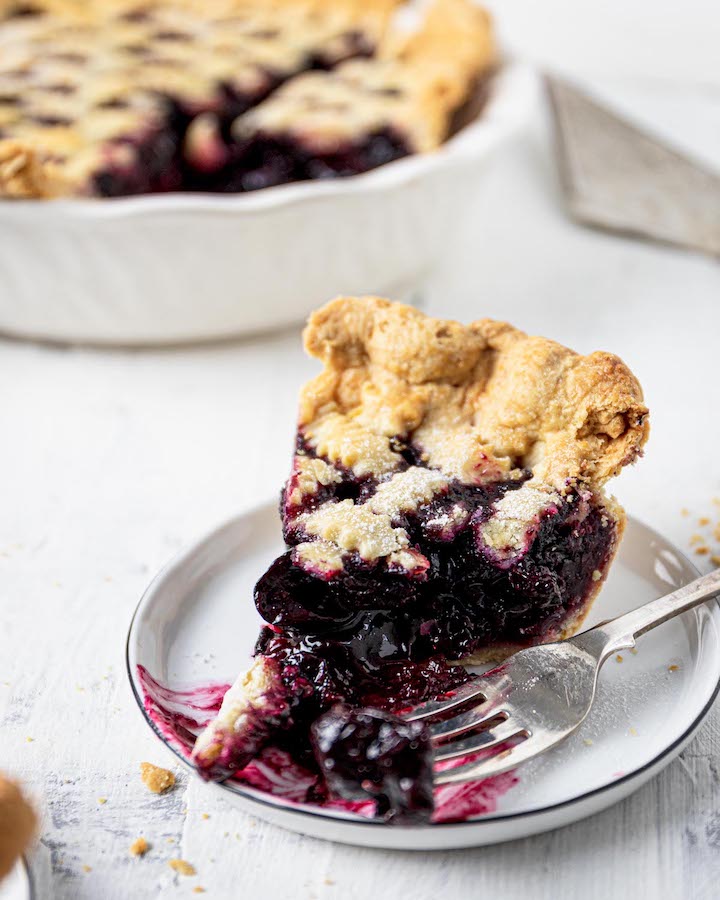
You can use this homemade vegan pie crust with your favourite pie filling. Here are some of my favourites:
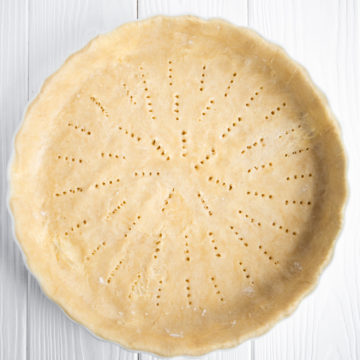
Vegan Pie Crust with Coconut Oil
Ingredients
- 1 cup (125g) all-purpose flour
- ¼ teaspoon sea salt
- ¼ cup (54g) coconut oil, solid
- 3-5 tablespoons iced water
Instructions
Make the dough
- Add the flour and salt into a large bowl and whisk to combine. Add chunks of solid coconut oil, then use a fork or a pastry cutter to slice the fat into the flour until you reach a crumbly texture.
- Start adding iced water one tablespoon at a time, while gently mixing the dough with a fork. Keep adding the water until the pie dough starts to clump together, but stop before it gets too wet or sticky.
Chill the dough
- Lay out a piece of plastic foil on your countertop, dump the dough in the centre and then wrap the dough very tightly into a flat disk. Press it down with your hands until the plastic wrap expands.
- Refrigerate the dough for at least 2 hours.
Roll the dough
- Unwrap the chilled vegan pie dough and place it on a floured surface. Start rolling from the centre of the dough out to the edges. Roll it in different directions to create a circular shape. Roll out the dough until it is about 2 inches larger than your pie plate.
- Gently lift the dough from your work surface using a metal spatula and transfer it to the pie plate.
- Make sure the dough lays flush with your pie plate, and leave 1 inch (2.5cm) of excess dough for folding and fluting the edges.
- Using your fingers, mend any cracks by lightly pinching them together and then smoothing them out.
Flute the edges
- Start by slowly folding the excess dough under itself to make a smooth, clean edge, folded on the rim of your pie plate. Then, using your thumbs and index fingers, pinch or flute the edge of the pie crust.
- If this seems too complicated or time-consuming for your taste, simply use a fork to press into the edges of the crust for a decorative effect.
- Refrigerate the pie crust or freeze it until you’re ready to use it.

Leave a Reply