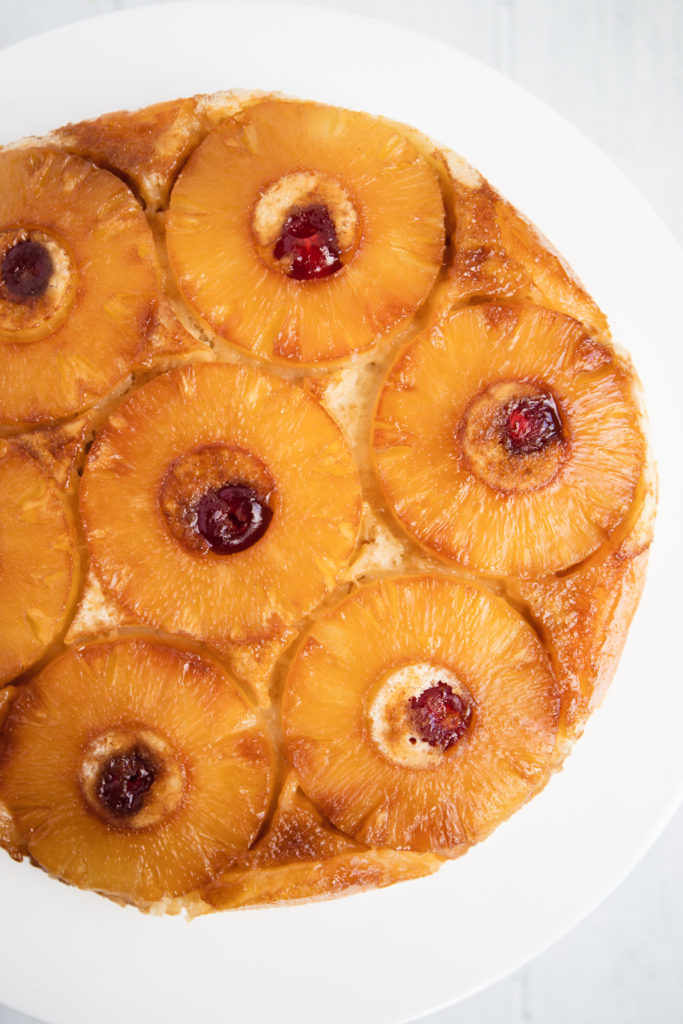
This vegan pineapple upside down cake delivers a modern twist on a timeless classic. Made with only 8 ingredients in a single bowl, it’s the kind of simple recipe you want to have at hand for when you need to whip something up in a hurry.
When Did Pineapple Upside Down Cake Become So Popular?
This slightly retro dessert without a doubt reached the height of its popularity in the 1950s and 1960s, but is being rediscovered again now! No wonder – it’s quick and simple to make, and just as tasty as always. Now if you’re not really into food history and fun trivia, feel free to skip straight to the recipe. But if you are, make yourself a nice cup of tea, get cosy, and carry on reading.
The term upside down cake actually first appeared in the late 19th century, but the toppings at the time included seasonal fruits, such as apples and cherries, and definitely nothing as exotic as pineapple. Canned pineapple manufacturing began in 1901, when Jim Dole established the Hawaiian Pineapple Company (now Dole Company) and began producing and marketing mass quantities of canned pineapple.
In 1925, this same company sponsored a contest calling for pineapple recipes, and it’s said that 2,500 of the 60,000 submissions were recipes for pineapple upside down cake. The company them decided to run an ad about the flood of pineapple upside down cake recipes they have received, and the popularity of this simple dessert kept increasing.
Why Is Pineapple Upside Down Cake Upside Down?
Before the late 19th century, upside down cakes were simply known as skillet cakes. This is because cooking over open fires, and later on top of the stove, isn’t exactly the most reliable method for baking the perfect cake.
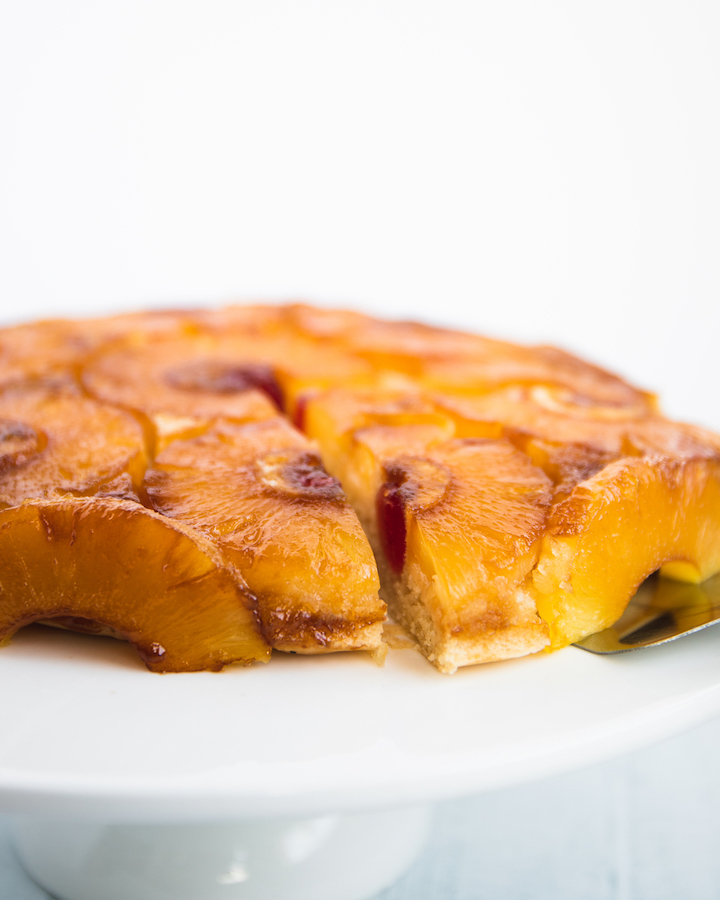
But cooking it upside down, so that the delicate cake is at the top and the perfectly caramelised sauce is at the bottom, closer to the source of the heat, is the perfect way for baking a soft, spongy cake with the topping already baked into it. Once it cools down a bit, you simply flip it over, revealing the gorgeously caramelised fruit.
How Is This Vegan Pineapple Upside Down Cake Different from the Traditional One?
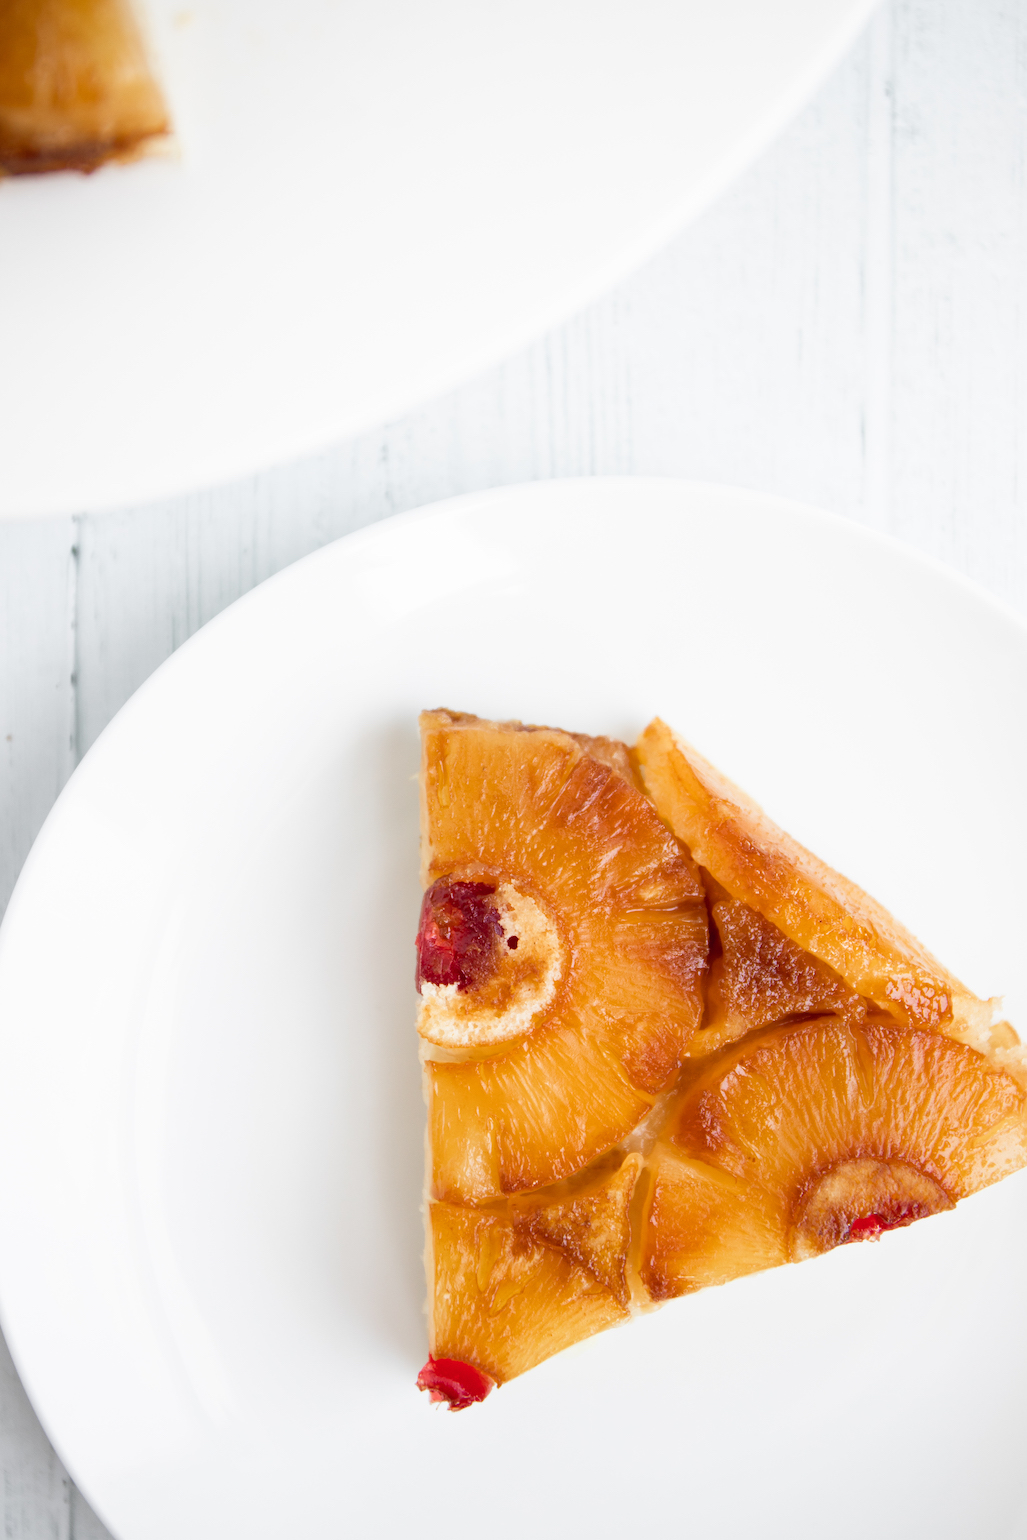
This cake is a timeless classic, but making it out of 100% plant-based ingredients, involves replacing milk and butter with vegan alternatives, and omitting eggs altogether. This results in a cake that’s sweet, tender and perfectly moist, and tastes virtually identical to its traditional counterpart.
What’s more, this vegan alternative to pineapple upside down cake is also slightly healthier, with one slice containing approximately 30% less calories and 25% less fat.
How to Make Vegan Pineapple Upside Down Cake from Scratch
Making this homemade dessert couldn’t be easier (which is probably what has kept it busy moms’ favourite for almost a century). Even if you have no idea what you’re doing in the kitchen, you can have the whole thing in the oven in under 15 minutes.
This super simple cake can be made with:
- 1 bowl
- 15 minutes prep time
- 8 ingredients
Step One – Prepare the Topping
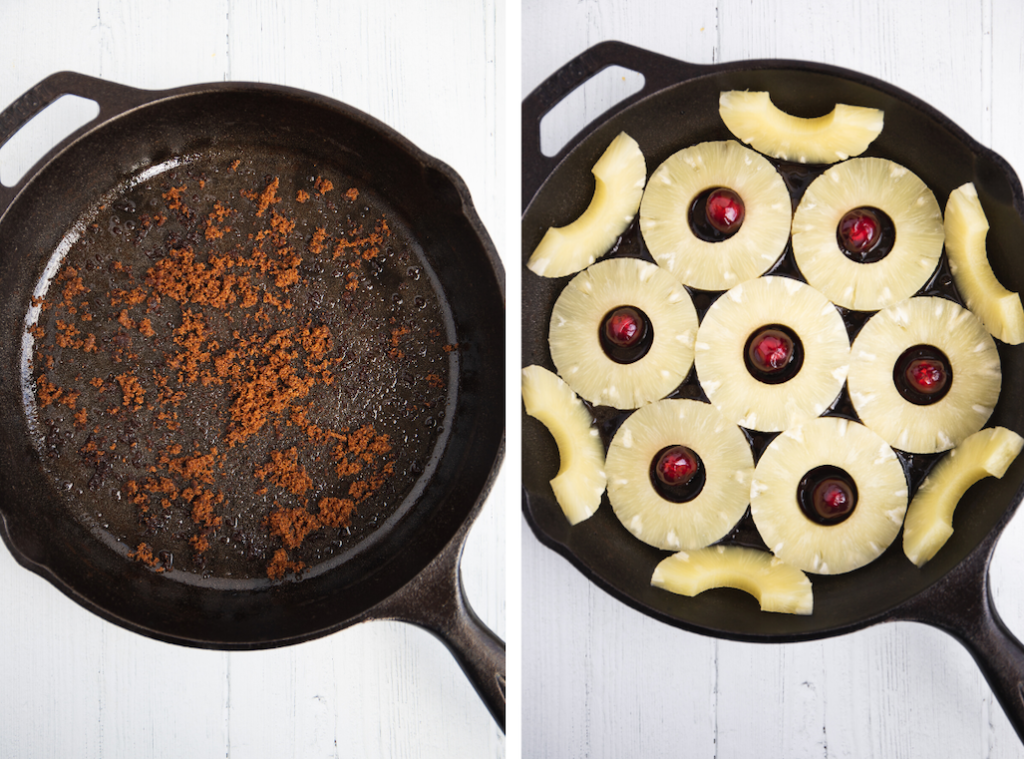
Pour melted coconut oil into a non-greased round pan or cast iron skillet and sprinkle it with dark brown sugar.
Step Two – Arrange Pineapple Slices in a Circular Pattern in the Pan
Add maraschino cherries for a pop of colour and extra sweetness (optional but highly recommended).
Step Three – Prepare the Batter
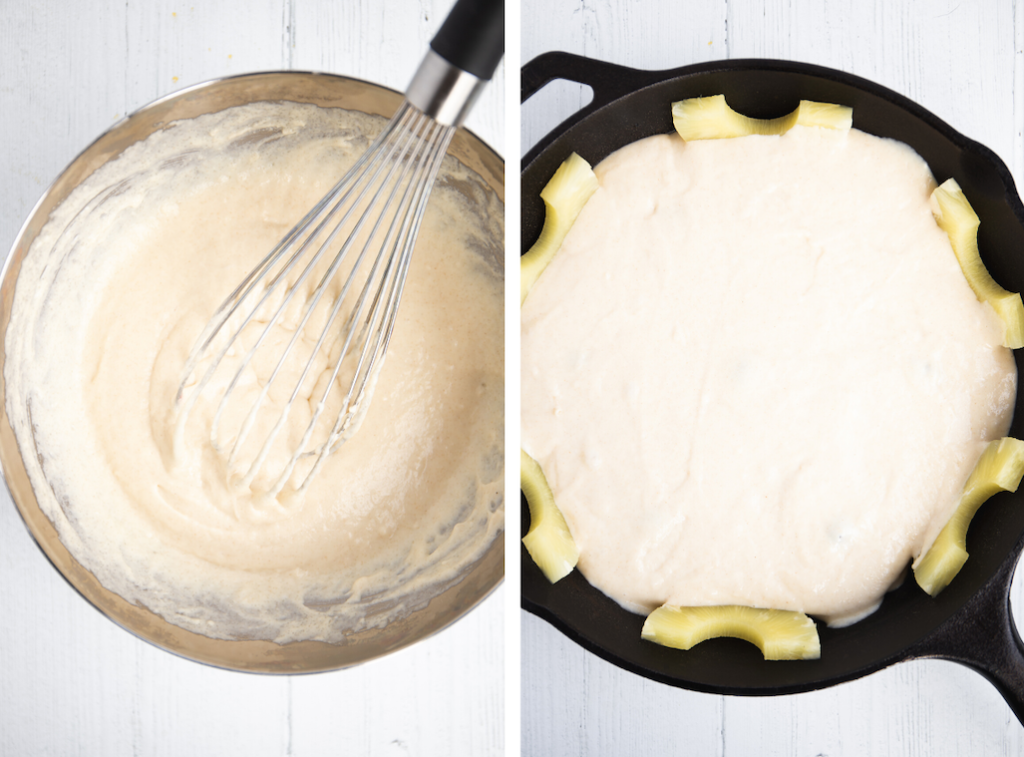
Mix flour, sugar, baking powder, coconut oil, almond milk and vanilla. Mix with a handheld mixer or a whisk. Pour and spread the batter evenly over the pineapple layer.
Step Four – Bake
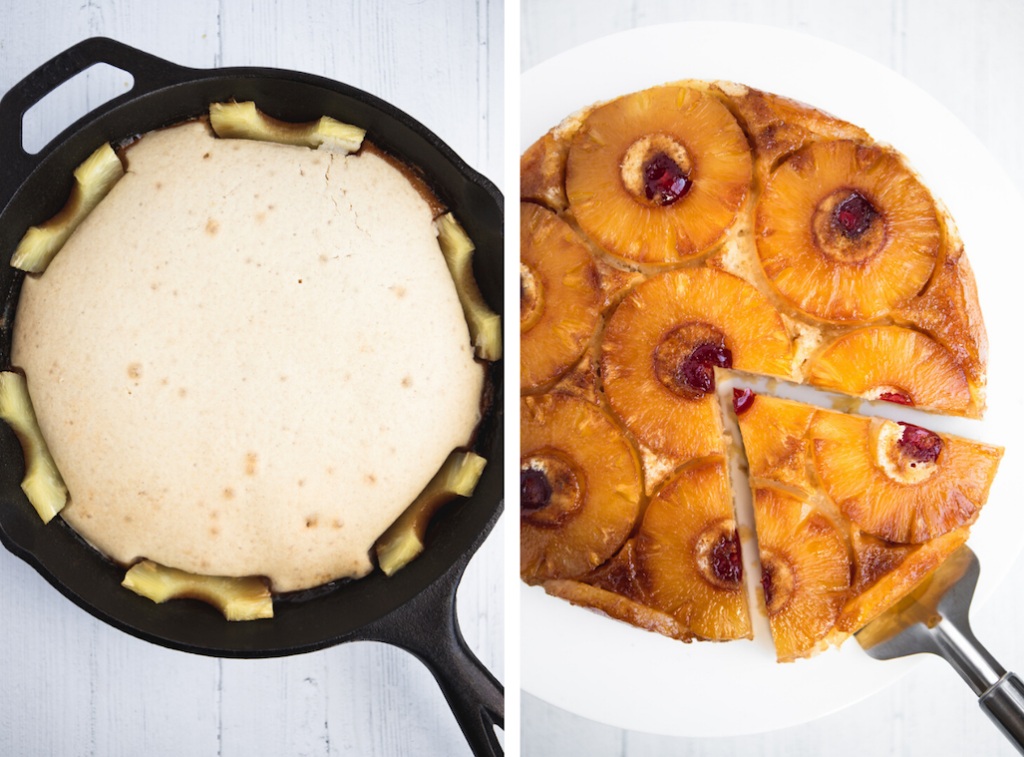
Bake for 30 minutes until a toothpick inserted in the middle comes out clean.
Step Five – Bake, Chill and Flip
Let the cake cool for about 20 minutes, then flip it onto a serving plate.
Vegan Pineapple Upside Down Cake FAQs
What kind of a pan should I use?
You can use any kind of round 9-inch pan, such as glass and ceramic. Personally, I’m a huge fan of my traditional cast iron skillet, so if you have one at home, I recommend giving it a try.
How long should I leave the cake in the pan before flipping it?
For best results, remove the cake from the oven and let it cool on a wire rack for about 20 minutes. Once it’s cool enough to handle, you can flip it.
How do I flip the cake?
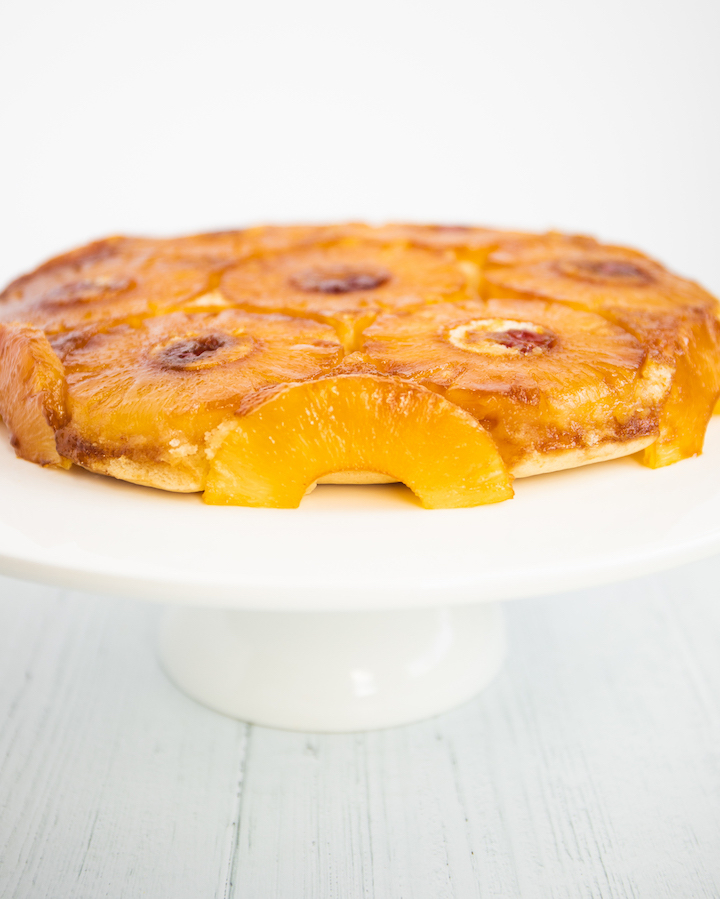
To flip an upside down cake, first loosen the edges slightly with a spatula. Then, place a serving plate or a cake stand on top of the cake and gently invert the cake onto it.
Can I make this cake any healthier?
To make this pineapple cake a bit healthier, make sure to use pineapple canned in juice, not syrup.
How can I prevent this cake from being too dry?
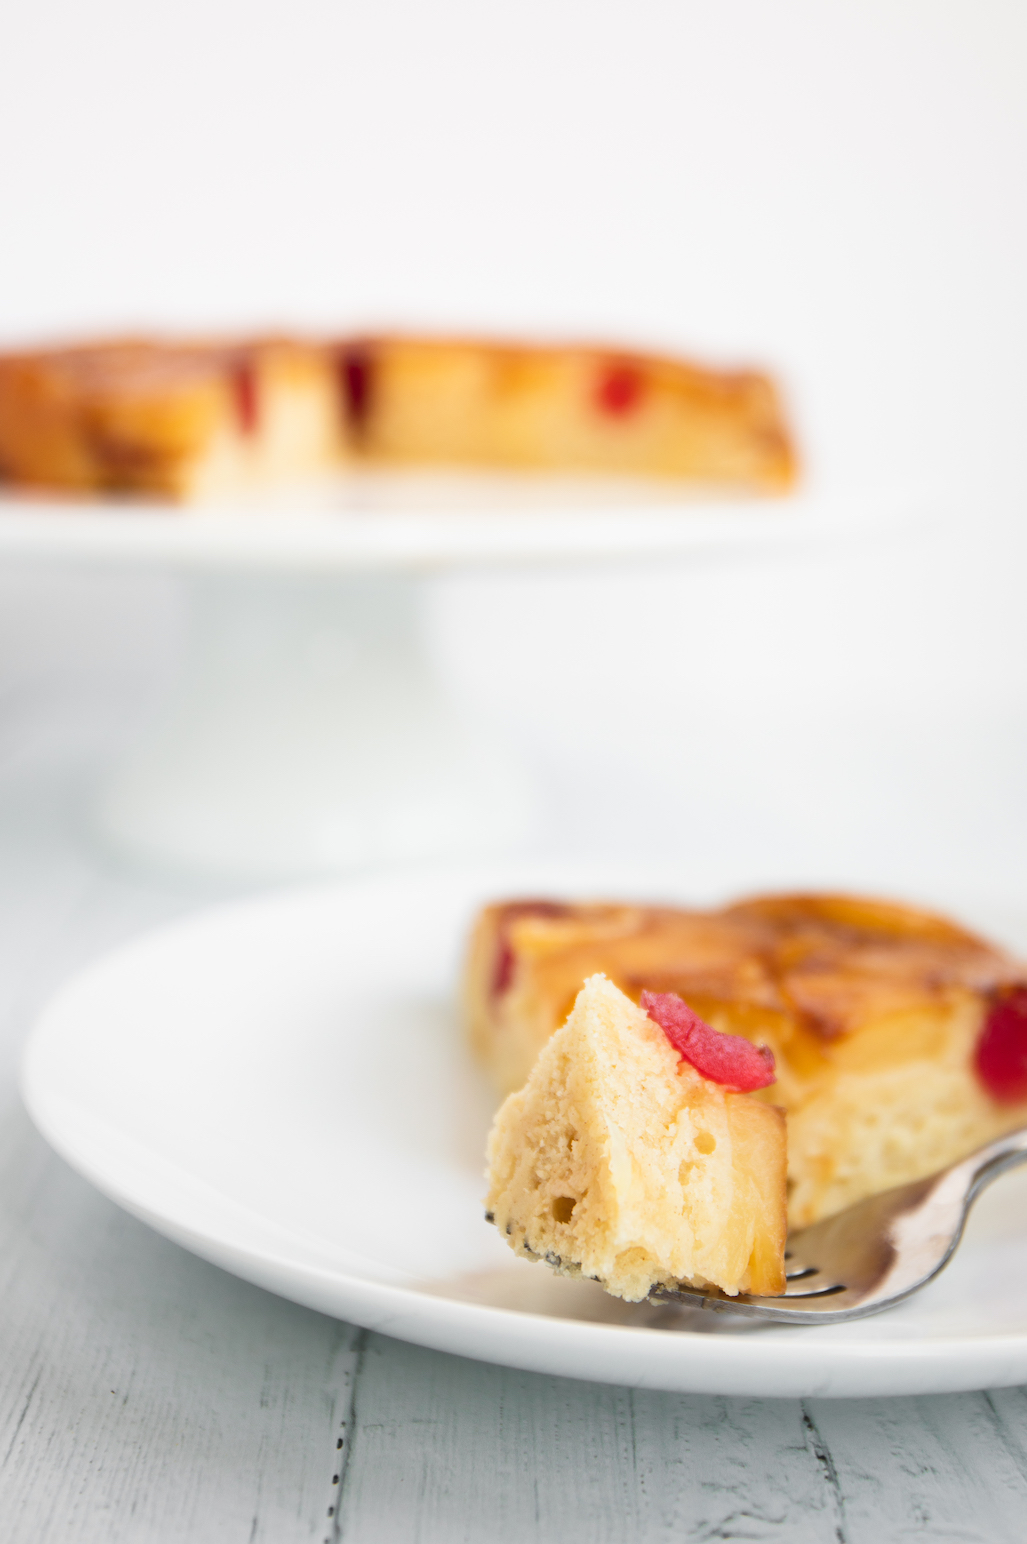
Reserve some of the pineapple juice, and moisten the sponge cake with it before slicing.
Should I put a pineapple upside down cake in the fridge?
Yes, do not keep it at room temperature as the pineapple might go bad.
How long does it keep?
You can safely store the cake in an airtight container in the fridge for up to three days.
Does it freeze?
Yes, pineapple upside down cake is one of those desserts that freeze beautifully. Keep the cake in the fridge overnight to make sure it has cooled completely, wrap it in plastic wrap, and place it in an airtight container. You can store it in the freezer for up to 3 months.
More Vegan Cakes
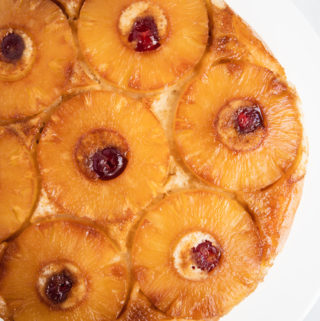
Vegan Pineapple Upside Down Cake
Ingredients
- 1 tablespoon coconut oil, melted
- ⅛ cup (30g) dark brown sugar
- 1 ⅓ cup (175g) all-purpose flour
- ⅓ cup (70g) sugar
- 2 teaspoons baking powder
- ¼ cup (40g) coconut oil, melted
- ¾ cup (180g) plant-based milk (I used almond milk)
- 1 teaspoon vanilla extract
- 7-10 pineapple slices
- 7 Maraschino cherries, optional
Instructions
- Preheat the oven to 350°F (177°C).
- Prepare the topping. Melt 1 tablespoon of coconut oil and pour it into a cast iron skillet or a round baking dish (approximately 9-inch diameter). Sprinkle brown sugar evenly over the oil.
- Blot any excess liquid off the pineapple slices with a clean towel or paper towel. Then, arrange 7 pineapple slices and all the cherries on top of the brown sugar. You can also halve 3 pineapple rings and arrange them around the sides of the pan (see the photo above). Place the pan in the refrigerator for a few minutes as you prepare the cake batter. This helps to set the topping’s arrangement.
- Make the cake batter. In a medium bowl, mix together the flour, sugar and baking powder. Pour in melted coconut oil, almond milk and vanilla and beat with a handheld mixer or a whisk for about 1 minute.
- Remove the topping from the refrigerator. Pour and spread cake batter evenly over the topping.
- Bake for 30 to 35 minutes, until a toothpick inserted in the middle comes out clean. After removing the cake from the oven, cool it in the pan on a wire rack for about 20 minutes. Then ease a spatula around the edge of the tin, place a plate on top, and turn it upside-down.
- You can serve the cake warm, but I like it best when it’s perfectly cool and the caramelised topping is sticky. It’s also easier to cut when it’s cool. You can store any leftover slices for up to 3 days in the refrigerator or 3 months in the freezer.
Notes
- Storing Instructions: you can safely store the cake in an airtight container in the fridge for up to 3 days.
- Freezing Instructions: keep the cake in the fridge overnight to make sure it has cooled completely, wrap it in plastic wrap, and place it in an airtight container. You can store it in the freezer for up to 3 months.

Corina Blum says
This was a favourite of mine growing up as my mum had a recipe she often used to make. Yours looks lovely!
Ana says
Thank you so much Corina. It’s good to hear I’m not the only one with pleasant childhood memories of this cake.